Roles and access to the list
On this page
A role groups work permissions under a name describing its responsibilities. Open Management, then Roles. The list displays the serial number and role name. Access requires View Role.
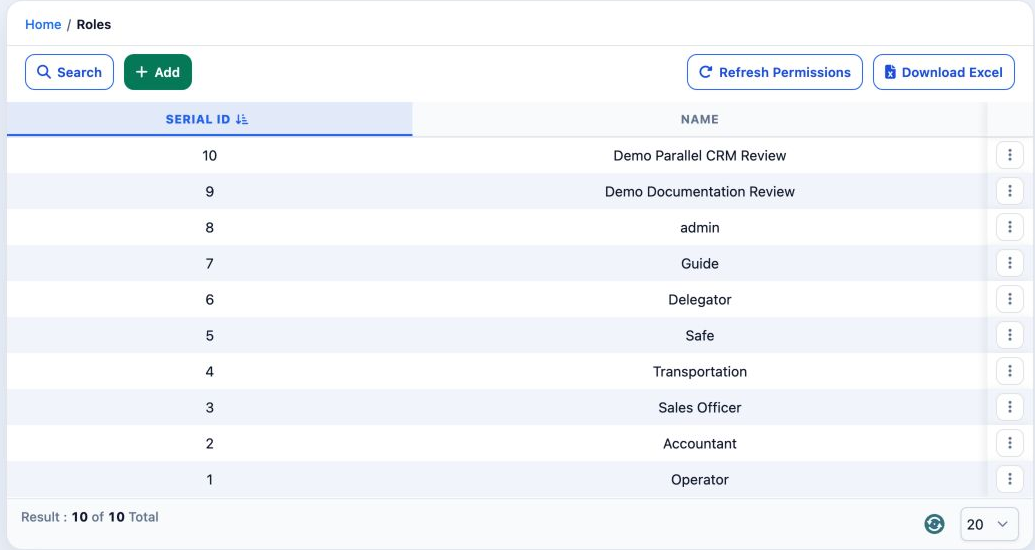
Use the page-size selector below the list to choose how many records to display. Result shows the displayed count and total.
Add a role
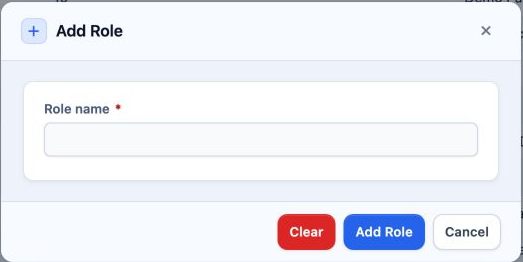
Select Add and enter Role name. The star marks it as required. Select Add Role to save. Clear resets the input; Cancel closes the form. The example saves DEMO-PERM-ROLE-20261115-001 as serial 11.

Edit the role name
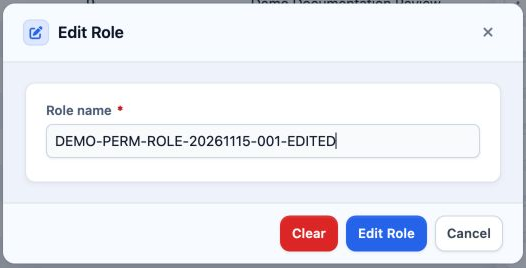
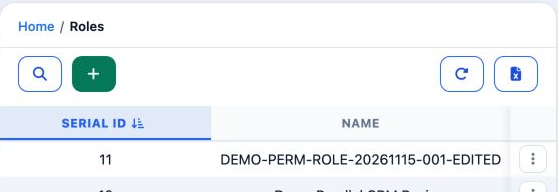
Open the role menu and choose Edit. Update Role name, then select Edit Role. The example adds -EDITED to the name and verifies it after reloading. Renaming a role is separate from editing its permissions.
Search for a role
Open Search, enter the role name in Role name and select Search. The example filters by the edited name to return one record. Clear the filter to return to the full list.
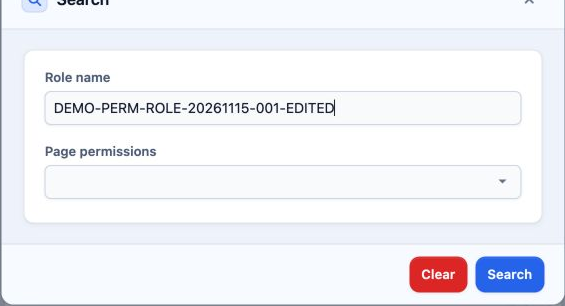
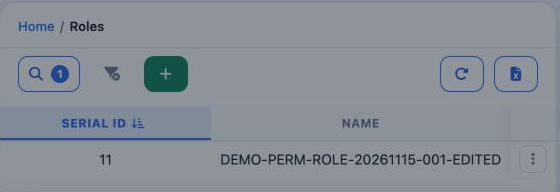
Clear resets the search inputs. Use the clear-filters control beside Search to return to all records; the example returned to 11 records.
Review role permissions
Choose Permissions from the role menu. Check the role name at the top and the selected permission count for each module. The example new role has no permissions. This step reviews the configuration only.
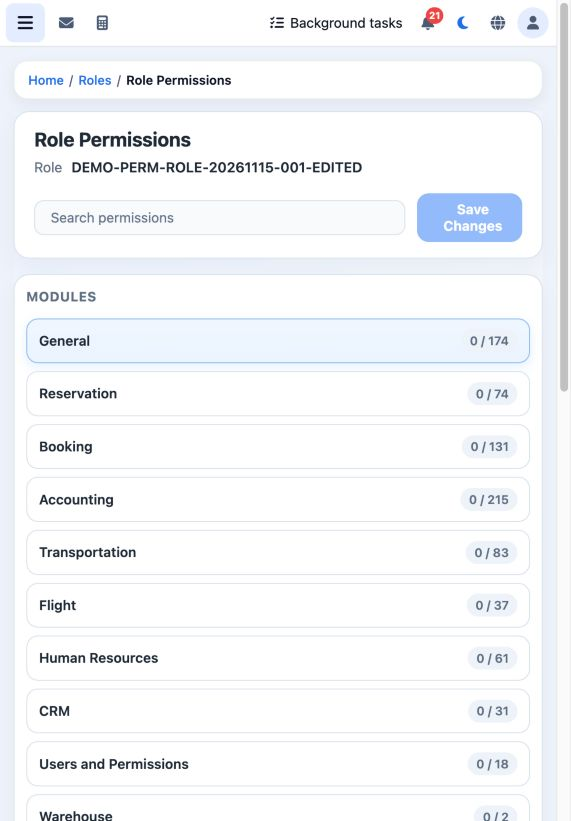
Search permissions helps locate permission names. Save Changes saves permission changes. In this workflow, review the configuration without changing it.
Deletion confirmation and return
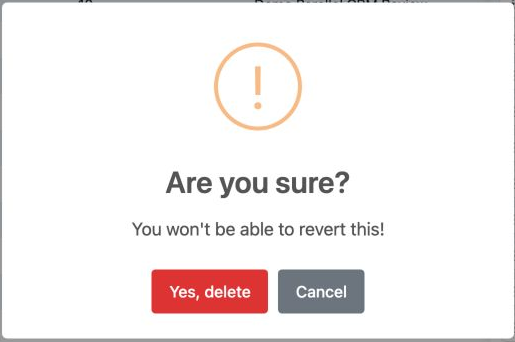
Choose Delete from the role menu to display its confirmation. The dialog warns that the action cannot be undone. The example chooses Cancel, retaining serial 11 and the list total of 11 records.
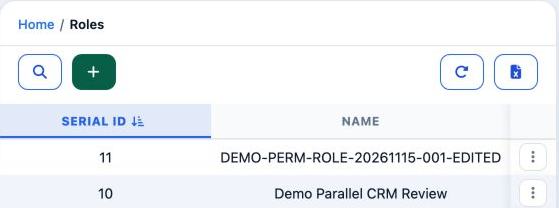
The row menu also contains Permissions for the role permissions and Copy Role to copy a role. The toolbar includes Download Excel to request an export and Refresh Permissions to refresh permission definitions.
Sign in to record the lessons you have read. Sign in