Driver permissions in Transportation
On this page
Opening the Drivers screen
This guide covers access to Drivers, adding and editing a training driver, reviewing and cancelling the delete confirmation, then closing and reopening the driver.
Access to Transportation was already enabled, but View Driver was disabled and Drivers did not appear in the menu. Enable View Driver, save, and check the selection after reopening the role.
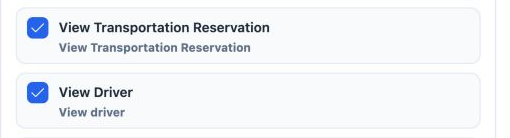
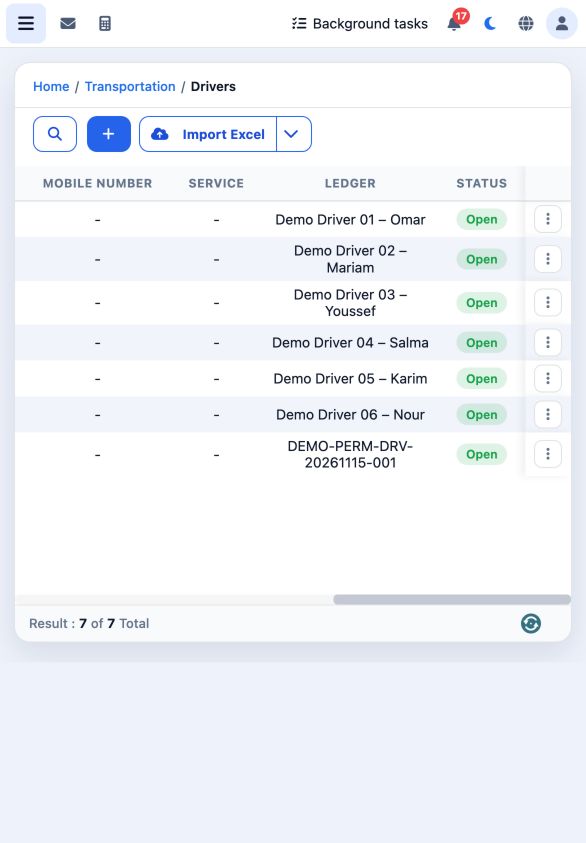
Choose Transportation, then Drivers. The fresh user session showed the screen and its six existing records. At the view-only stage, the Add button and Edit/Delete actions were unavailable.
Adding personal details
To continue this example, Add Driver, Edit Driver, Delete Driver, Export Driver and Print Driver were enabled together, saved and checked, followed by a fresh sign-in. Click + to open Add Driver.
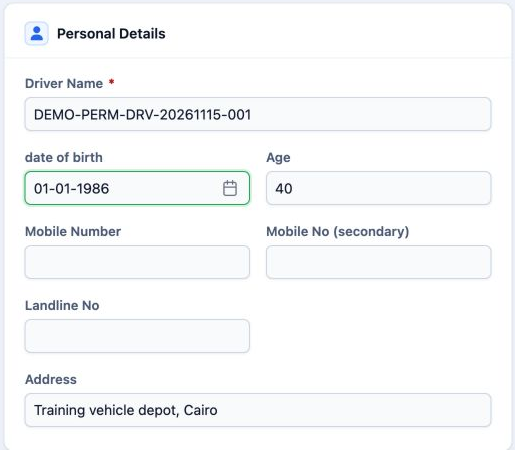
Driver Name is required. date of birth is the birth date and Age the displayed age. Mobile Number and Mobile No secondary are the two mobile numbers, Landline No the landline and Address the address.
The training address is Training vehicle depot, Cairo. Contact numbers were left blank; no actual contact details were used.
License employment and linked account
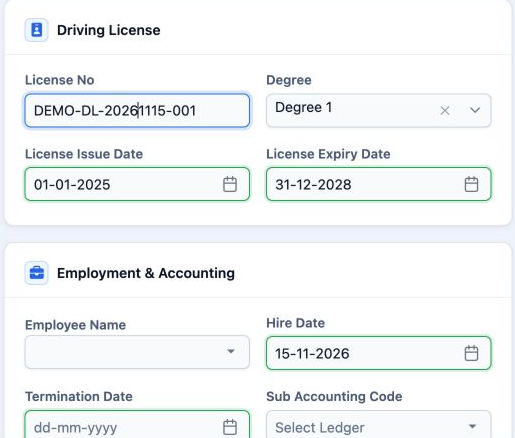
License No is the license number, here DEMO-DL-20261115-001. Degree is set to Degree 1. License Issue Date is 01-01-2025 and License Expiry Date 31-12-2028.
Employee Name links an employee when applicable. Hire Date is 15-11-2026 in this example. Termination Date is the employment end date and was left blank. No employee was assigned.
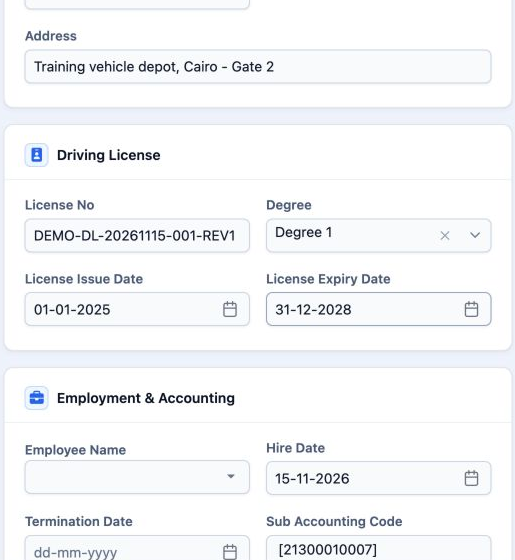
Sub Accounting Code is the driver’s linked subaccount. It was left blank on creation; after saving an account named after the driver appeared with code 21300010007. The Drivers accounting setting showed سائقين with code 2130001 and was reviewed without changing it.
Saving and editing
Click Save, then reload the list. The driver was added as number 7 and the total became 7, with the original six retained.

Choose Edit from the same driver’s menu. The address was changed to Training vehicle depot, Cairo - Gate 2 and the license number to DEMO-DL-20261115-001-REV1, then saved.
Reviewing and cancelling deletion
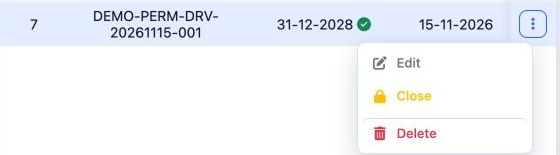
Choose Delete for training driver number 7. Review the deletion confirmation before deciding.
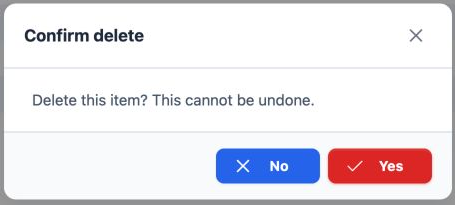
Driver 7 remained in the list and the total stayed 7. This example demonstrates the confirmation and cancellation, without executing deletion.
Closing and reopening the driver
Choose Close from the training driver’s menu. After confirming, its status became Closed.
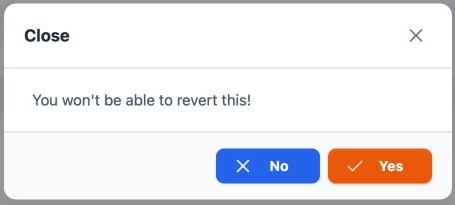
Open the closed driver’s menu, select Reopen, review the confirmation and select Yes.
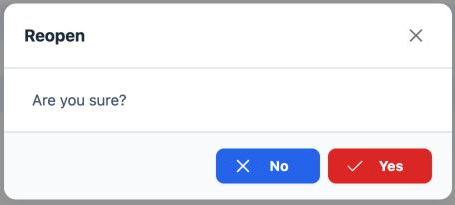
Closing differs from deleting: the record remained and was reopened through its menu in this example.
Checking the final state
The new driver retains the same name and number 7, account 21300010007 and the edited address and license details. The original six records were not modified.
View Driver was tested on its own. The other five permissions were enabled together; the preceding steps demonstrate the actions available in that combined state.
Sign in to record the lessons you have read. Sign in