Suppliers and permissions guide
On this page
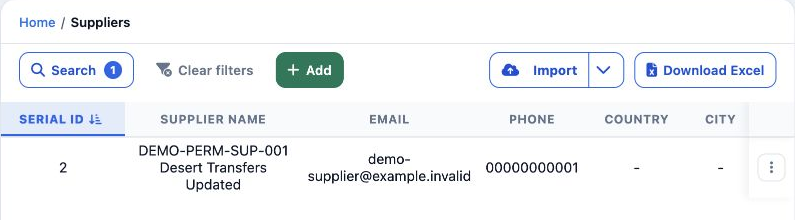
Path: Suppliers, Suppliers. The example creates a training transport supplier, edits its details, finds it and deletes the disposable record.
Assign user permissions
In Roles, Permissions, General, search Supplier. Select the required permissions, save with Save Changes and sign in again to check the result.
View Supplier: read the supplier list.
Add Supplier: create a supplier.
Edit Supplier: update supplier details.
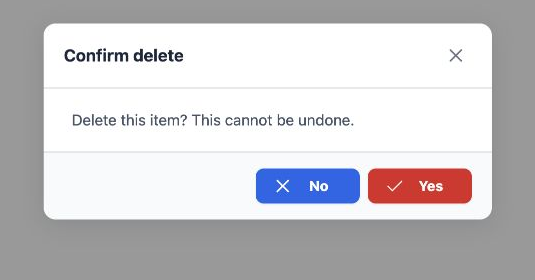
Delete Supplier: delete a supplier after confirmation.
Export Supplier / Print Supplier: export and print permissions.
After the permissions were enabled, the example user could access Suppliers and see Add, Edit, Delete and Download Excel.
Create a training supplier
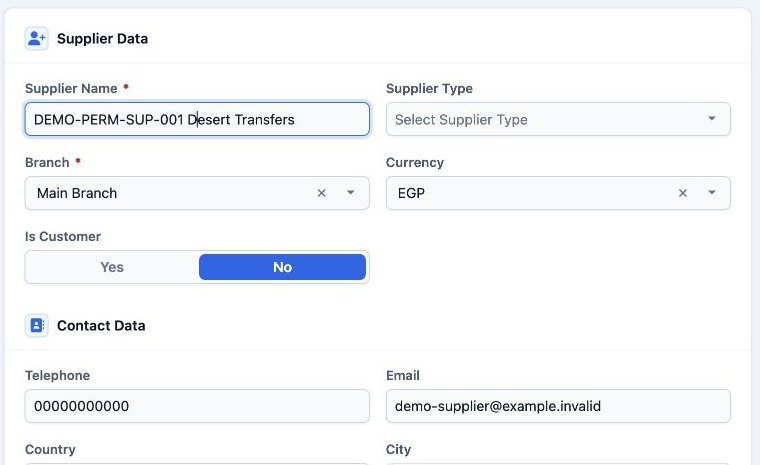
The saved example used DEMO-PERM-SUP-001 Desert Transfers, Main Branch, EGP and dummy contact details. Supplier type, location and address can be completed as applicable.
In Accounting Data, choose the account group. The example used transport suppliers group 2138000. Account Code was left blank and 21380000001 appeared after saving. Select Add Supplier to save.
The example received serial number 2. Supplier Code displayed 47222631; Code displayed 21380000001. These numbers are distinct.
Edit and review form sections
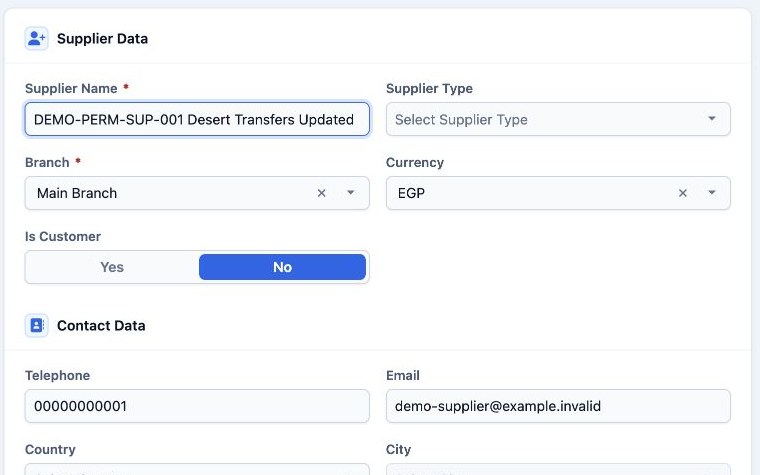
Contact Data includes phone, email, country, city, state and address. Accounting Data includes account group and code, Discount & Collection Ledger, payment type and bank name.
Tax Data includes tax number, tax mission, tax amount, taxpayer name and card number. Services, reference, invoice remarks and contact persons are also available.
Choose values that apply to the supplier and the company workflow. Reopening the form shows the saved account code.
Search and deletion confirmation
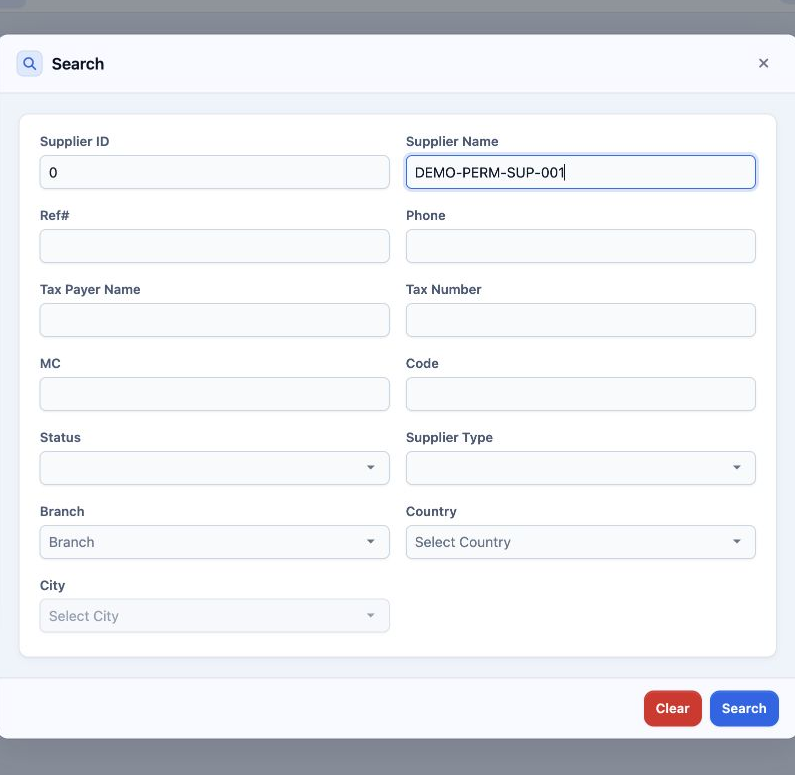
Other filters cover ID, reference, phone, tax details, code, status, type, branch and location. To show all records, clear the criteria and run Search again.
Sign in to record the lessons you have read. Sign in