Skip to content
Trio Travel guide

Employee definition permissions

On this page
  1. Start adding an employee
  2. Role, ledger and addresses
  3. Edit and verify saved details
  4. Search and change status
  5. Confirm deletion and check the list

Open Settings → Employees to manage operational employee definitions. This guide covers adding, editing, searching, changing status and deleting.
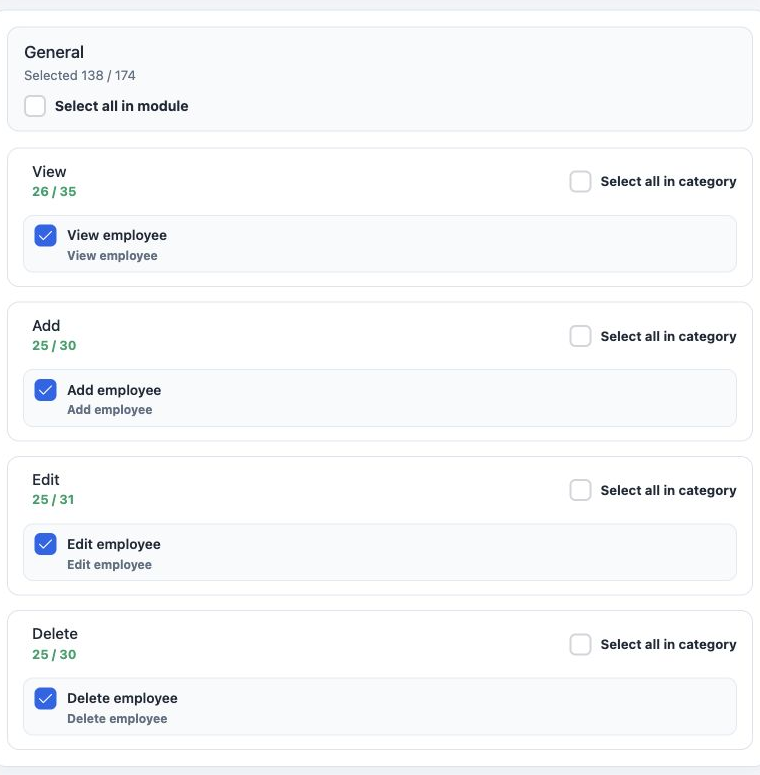
1 In Role Permissions, search for employee under General. Enable View to read, Add to create, Edit to change and Delete to remove definitions,...
In Role Permissions, search for employee under General. Enable View to read, Add to create, Edit to change and Delete to remove definitions, then save. All four permissions are enabled in this example.

The register shows the name, role, ledger, email, phone, Galileo and Amadeus codes, employee code, status and record ID.

Start adding an employee
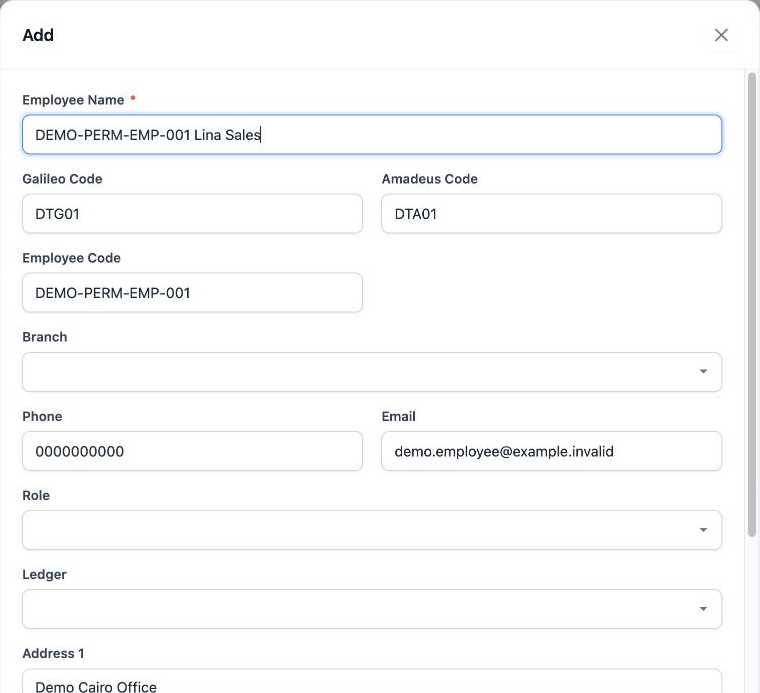
2 Select Add and enter Employee Name, the field marked with an asterisk. Enter the Galileo Code, Amadeus Code and Employee Code values approve...
Select Add and enter Employee Name, the field marked with an asterisk. Enter the Galileo Code, Amadeus Code and Employee Code values approved for your company. This image shows the initial entry stage of the training example.

Choose a Branch and enter Phone and Email. The example uses a training name, codes and email address.

Role, ledger and addresses
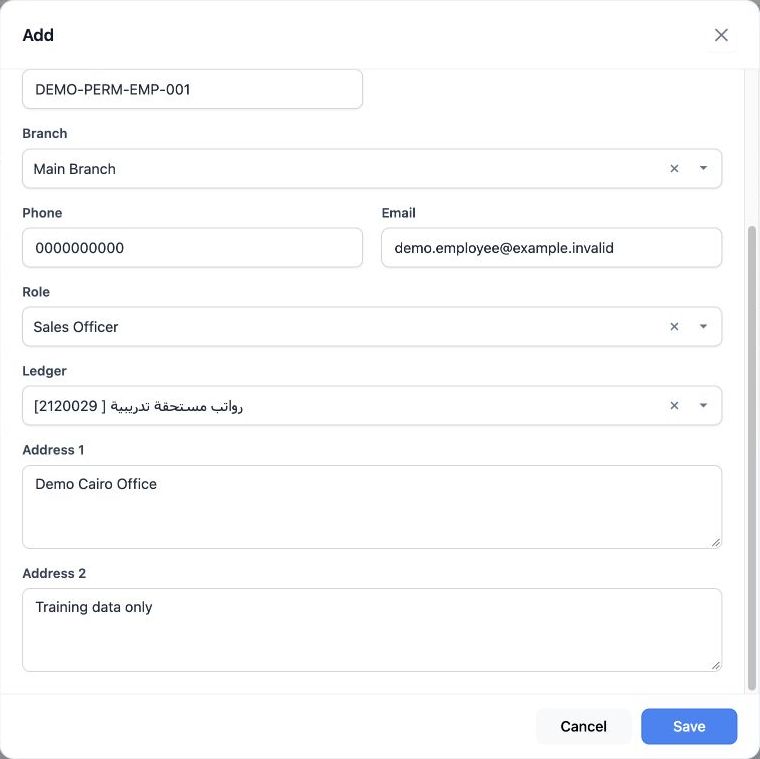
3 Choose a Role; this example uses Sales Officer. Select the related Ledger according to your company’s configuration. Enter Address 1 and Add...
Choose a Role; this example uses Sales Officer. Select the related Ledger according to your company’s configuration. Enter Address 1 and Address 2, then select Save to save or Cancel to return.

The example selected Main Branch and the existing training ledger 2120029. Saving created employee record 47224004 with status Active.

Edit and verify saved details
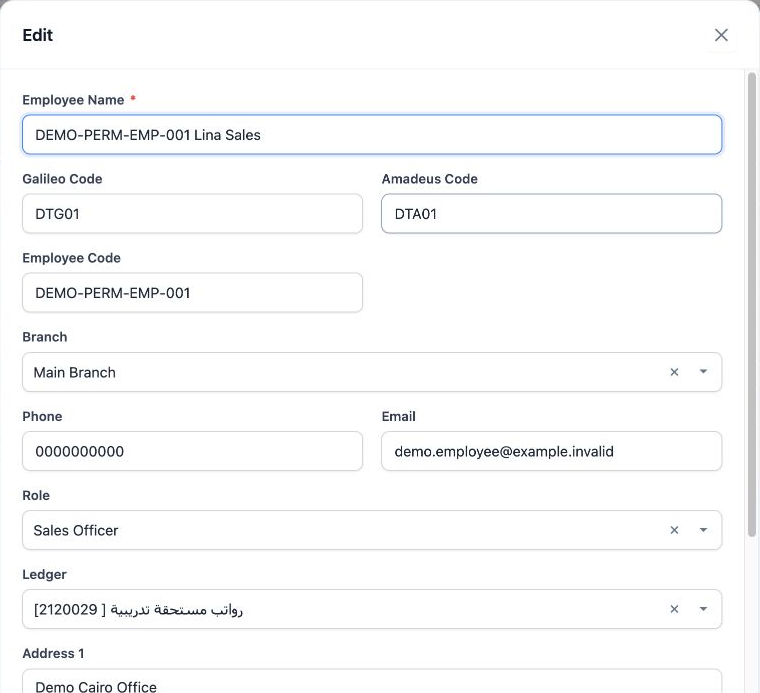
4 Open the employee’s row menu and choose Edit. The form displays saved details, including the name, codes, branch, phone, email, role and led...
Open the employee’s row menu and choose Edit. The form displays saved details, including the name, codes, branch, phone, email, role and ledger. Change the required values and save.
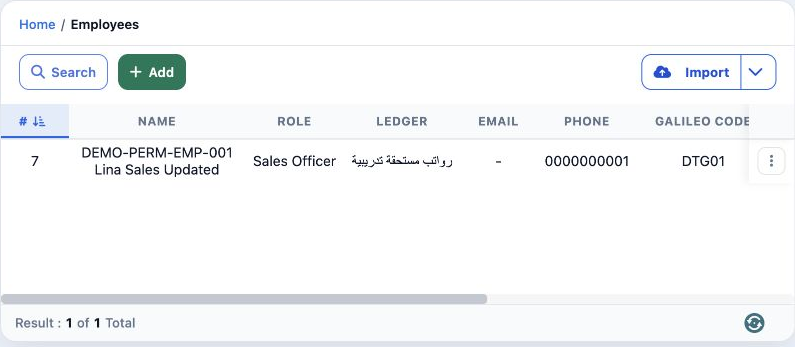
5 The name was changed to DEMO-PERM-EMP-001 Lina Sales Updated and the phone to 0000000001. The saved register shows the changes; searching by...
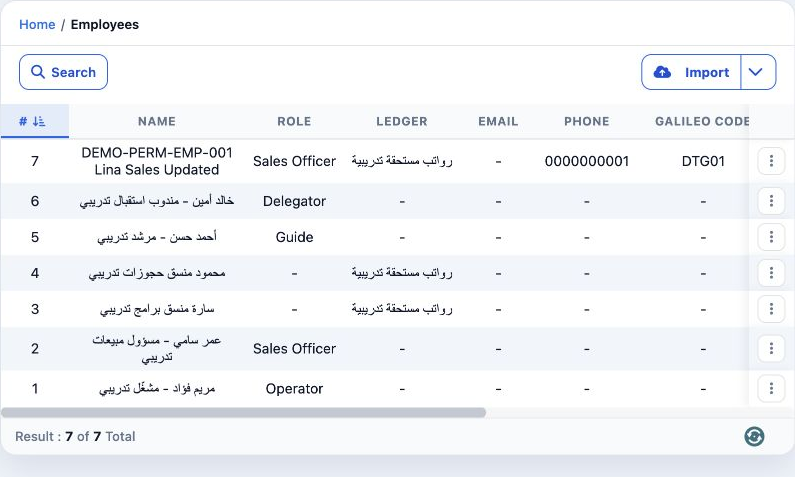
The name was changed to DEMO-PERM-EMP-001 Lina Sales Updated and the phone to 0000000001. The saved register shows the changes; searching by the name prefix returned this row alone.

Search and change status

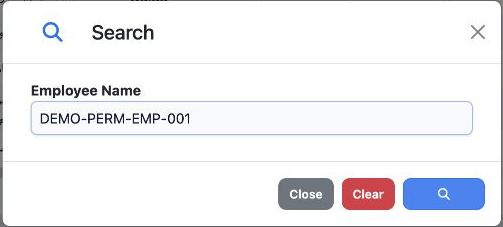
6 Select Search, enter Employee Name or a prefix, then select the magnifying-glass search button. Clear removes the filter and Close closes th...
Select Search, enter Employee Name or a prefix, then select the magnifying-glass search button. Clear removes the filter and Close closes the dialog.
7 Choose Change Status from the employee’s row menu. The training record became Not Active and remained so after refresh. Selecting the same a...
Choose Change Status from the employee’s row menu. The training record became Not Active and remained so after refresh. Selecting the same action again restored Active.

Commissions in the employee’s row menu opens commission rules, covered in the separate sales officer commission guide.

Confirm deletion and check the list
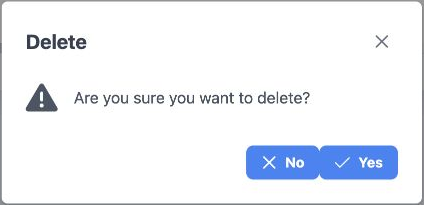
8 Choose the intended employee and select Delete from its row menu. No keeps the record; Yes confirms deletion. The confirmation was cancelled...
Choose the intended employee and select Delete from its row menu. No keeps the record; Yes confirms deletion. The confirmation was cancelled first, then only training record 47224004 was deleted.
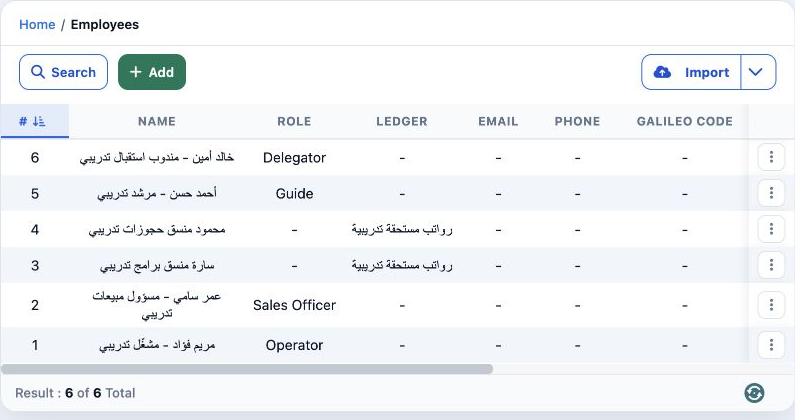
9 After refreshing, the register returned to the original six employees and the deleted training record disappeared. Check the result count an...
After refreshing, the register returned to the original six employees and the deleted training record disappeared. Check the result count and rows after the action.

Sign in to record the lessons you have read. Sign in