Skip to content
Trio Travel guide

General Tourism Notifications

On this page
  1. 1 Notifications list
  2. 2 Add a standalone notification
  3. 3 Add a file notification
  4. 4 Edit a file notification
  5. 5 Copy a form line
  6. 6 Change status
  7. 7 Search and filter
  8. 8 Preview the payment order
  9. 9 Export the list

1 Notifications list

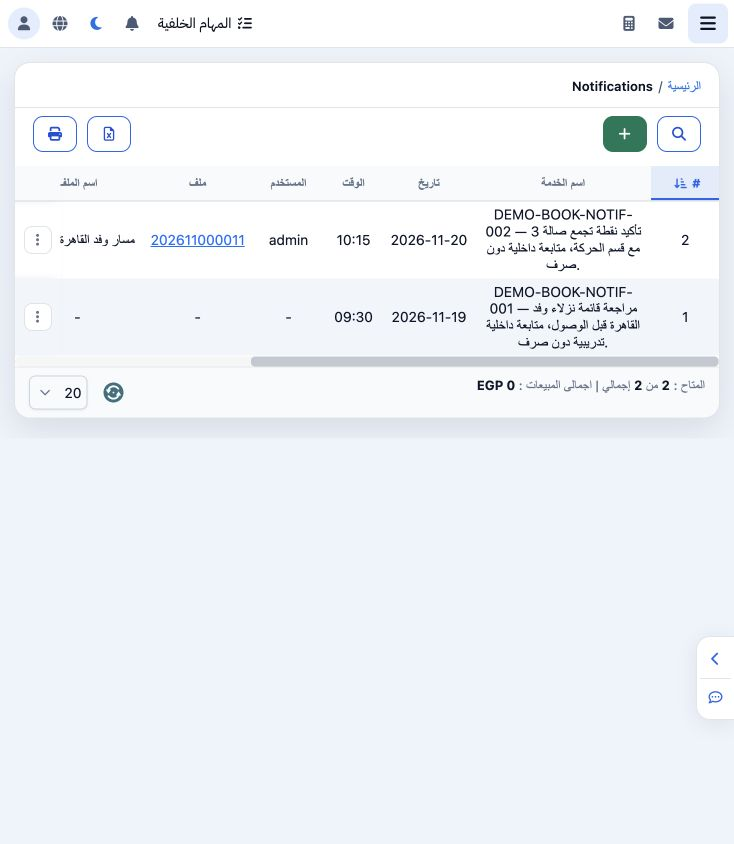
1 Open General Tourism → Notifications. The list shows service, date, time, file, follow-up status and payment information. Two saved training...
Open General Tourism → Notifications. The list shows service, date, time, file, follow-up status and payment information. Two saved training examples are shown; one belongs to file 202611000011.

2 Add a standalone notification

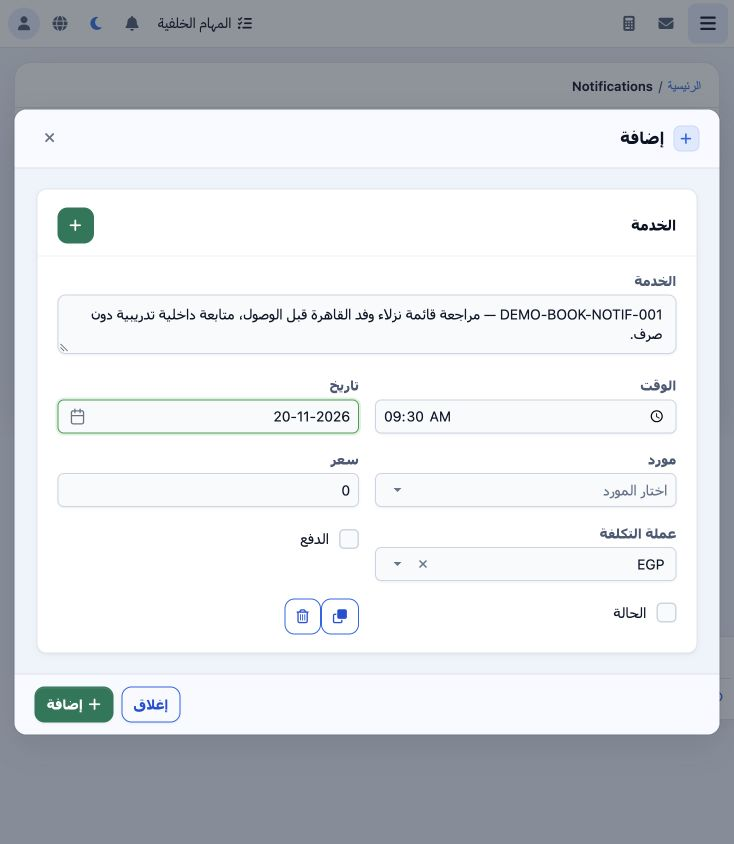
2 Select + and enter the service description, time and date, then supplier, price and cost currency when applicable. The form also contains Pa...
Select + and enter the service description, time and date, then supplier, price and cost currency when applicable. The form also contains Payment and Status options. This internal follow-up example uses zero price, EGP and both options clear. Select Add to save.

3 Add a file notification

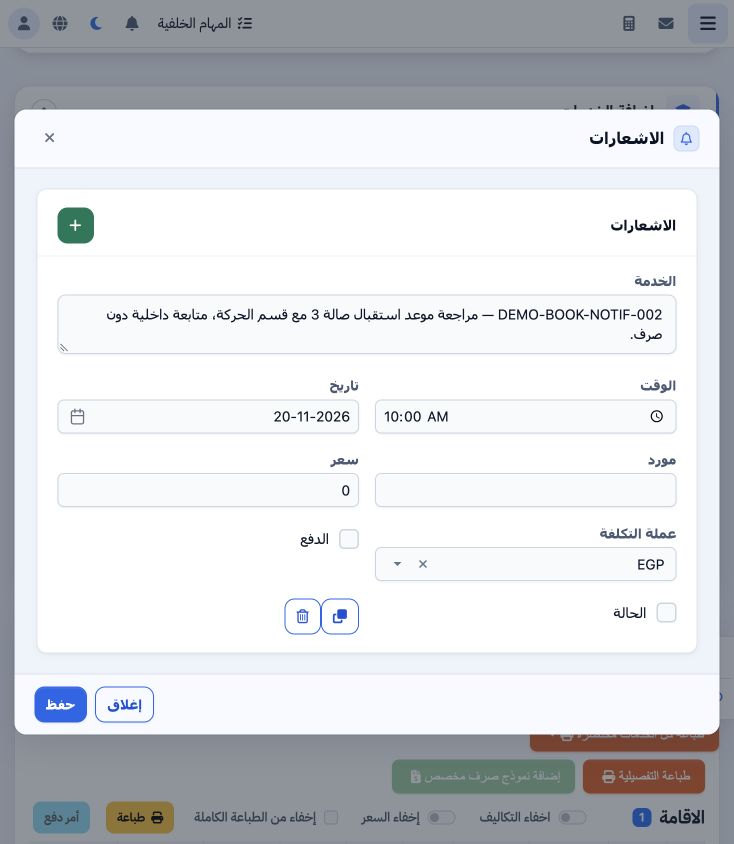
3 Open the file and select Notifications among its services. Add a line, enter the follow-up description, schedule and currency, then Save. Th...
Open the file and select Notifications among its services. Add a line, enter the follow-up description, schedule and currency, then Save. The Terminal 3 reception example was saved for 20 November 2026 and appears with the file number and name in the main list.

4 Edit a file notification

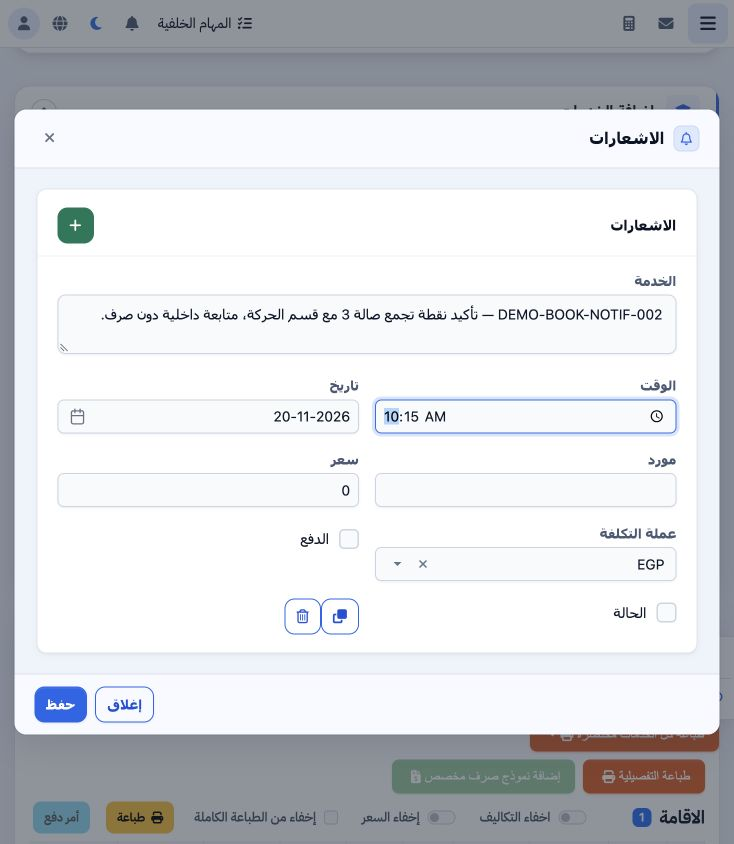
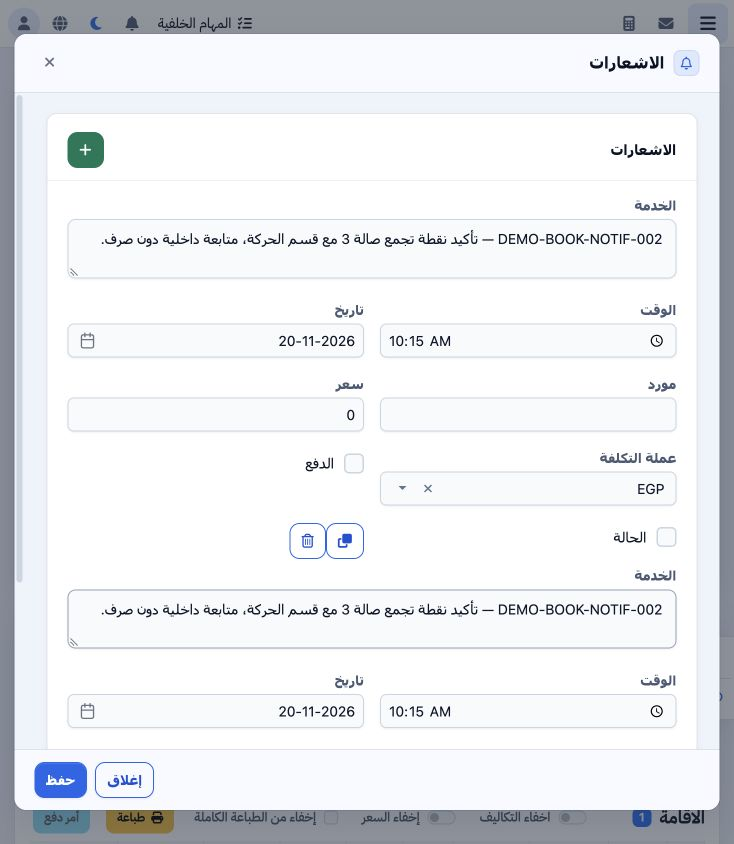
4 Reopen the file notifications, update the description and time, then Save. The example adds assembly-point confirmation and changes the time...
Reopen the file notifications, update the description and time, then Save. The example adds assembly-point confirmation and changes the time to 10:15. Check the updated values in the notifications list.

5 Copy a form line

5 The Copy icon adds a line with the original values. Edit it before saving, and use the line trash icon to remove an unwanted draft. Close re...
The Copy icon adds a line with the original values. Edit it before saving, and use the line trash icon to remove an unwanted draft. Close returns to the file.

6 Change status

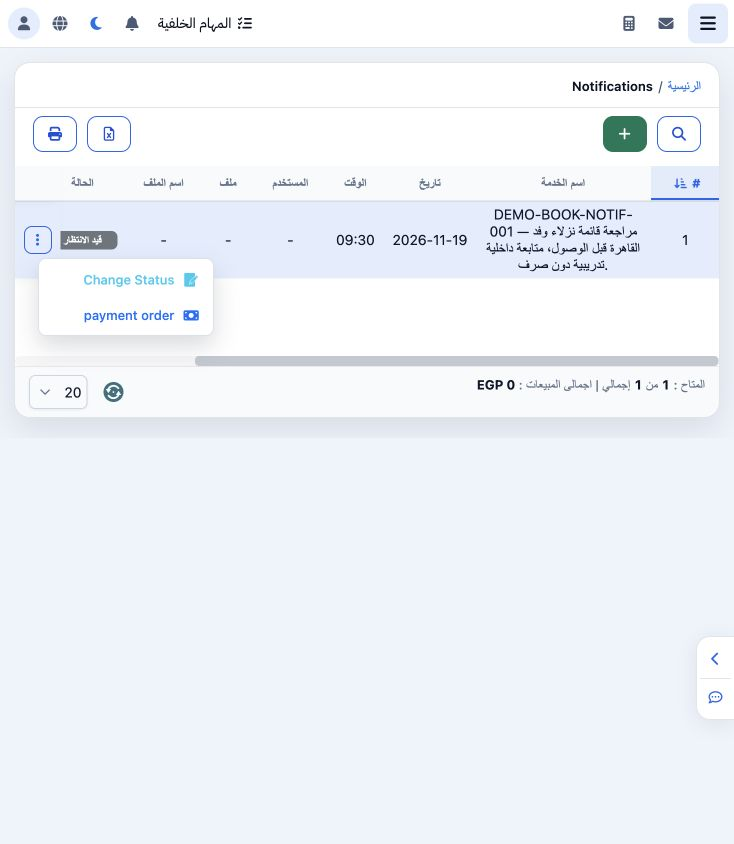
6 Open the row menu and choose Change Status. In the example, the first notification changed from Pending to Completed. Review the resulting s...
Open the row menu and choose Change Status. In the example, the first notification changed from Pending to Completed. Review the resulting status after the action.

7 Search and filter

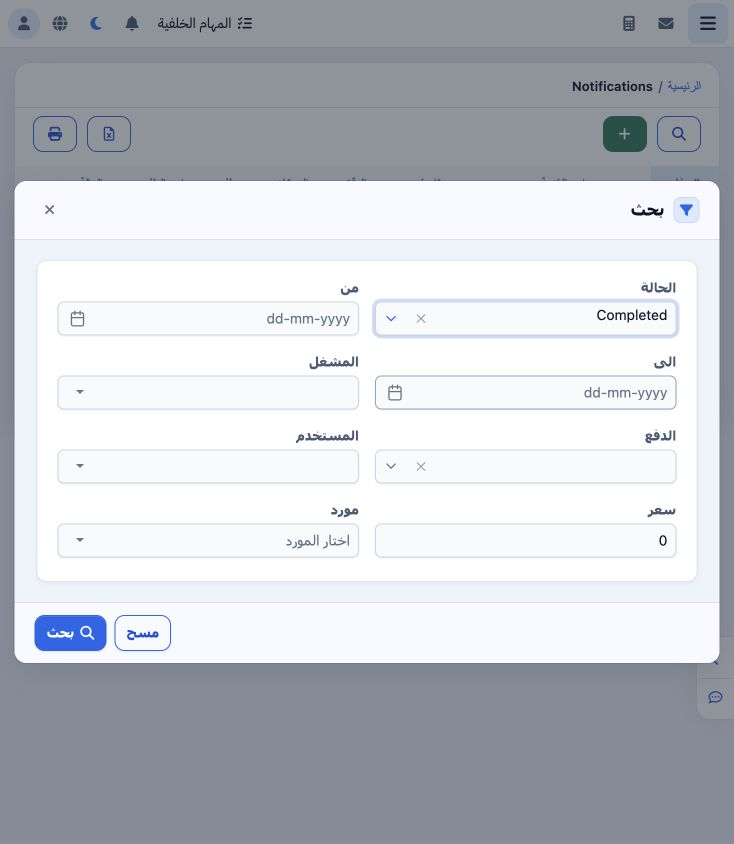
7 Open Search and select status, dates or operator, user, payment, price and supplier criteria. Run Search. Completed returns only the complet...
Open Search and select status, dates or operator, user, payment, price and supplier criteria. Run Search. Completed returns only the completed example. Clear the filter to return to both records.

8 Preview the payment order

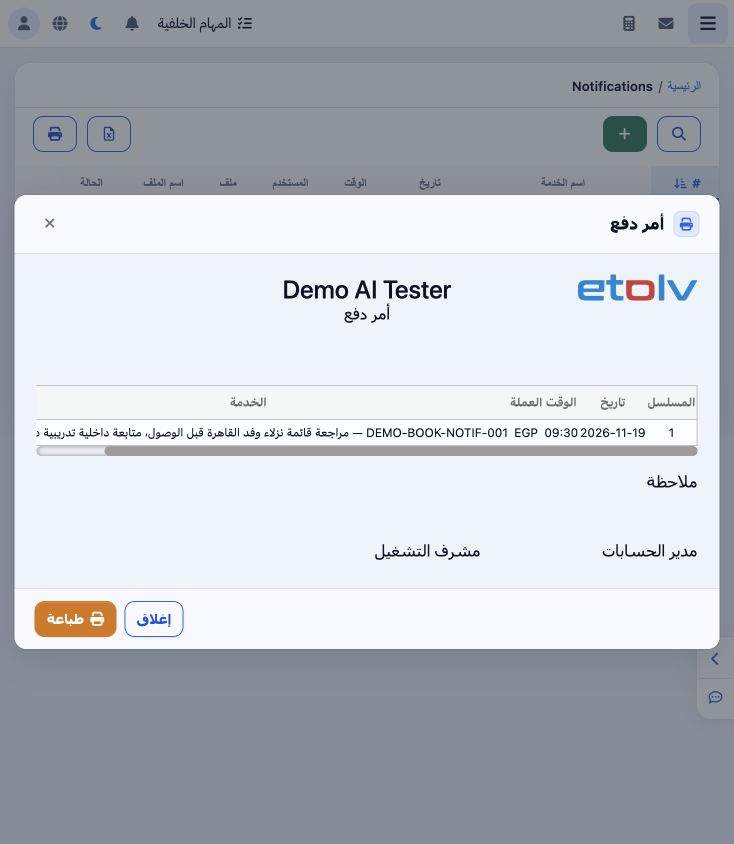
8 Choose payment order from the row menu to open the preview. Review service, date, time, currency, price, notes and signature areas. The dial...
Choose payment order from the row menu to open the preview. Review service, date, time, currency, price, notes and signature areas. The dialog provides Print and Close.

9 Export the list

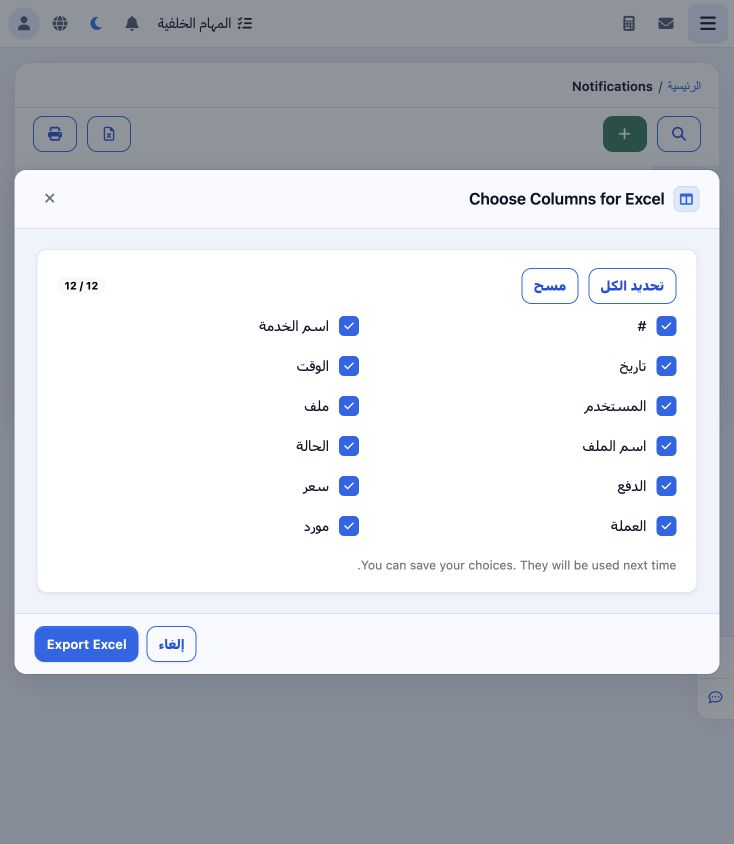
9 Select Excel, choose columns and Export Excel. The downloaded workbook contains both examples and the tourism file number for the linked not...
Select Excel, choose columns and Export Excel. The downloaded workbook contains both examples and the tourism file number for the linked notification. Reconcile exported values with the list. The Print icon provides a separate column selection.

Sign in to record the lessons you have read. Sign in