Skip to content
Trio Travel guide

Bank Payment Voucher

On this page
  1. Open the payment form
  2. Enter the voucher details
  3. Find a bank payment voucher
  4. Find the bank setting
  5. Confirm an approved bank payment request
  6. Review the linked voucher
  7. Enable the switch for the test
  8. Result with the switch on
  9. Post the bank payment voucher
  10. Journal entry with the switch off
  11. Journal entry with the switch on
  12. Find the bank in a manual journal entry
  13. Search for the bank with the switch on

Use a bank payment voucher to record an amount paid from a bank account. This guide shows how to enter and find a voucher and where to find the setting used for bank payment requests.

Open the payment form
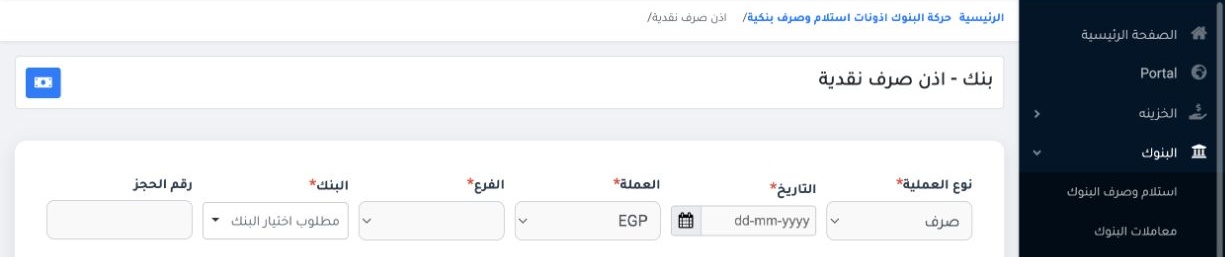
1 In Accounting, open Banks → Bank Receipts and Payments. Set Transaction Type to Payment.
In Accounting, open Banks → Bank Receipts and Payments. Set Transaction Type to Payment.

Enter the voucher details

2 Set the date, currency, branch and bank. Enter the payee in the field currently labeled “Collected from” and add the payment reference. For...
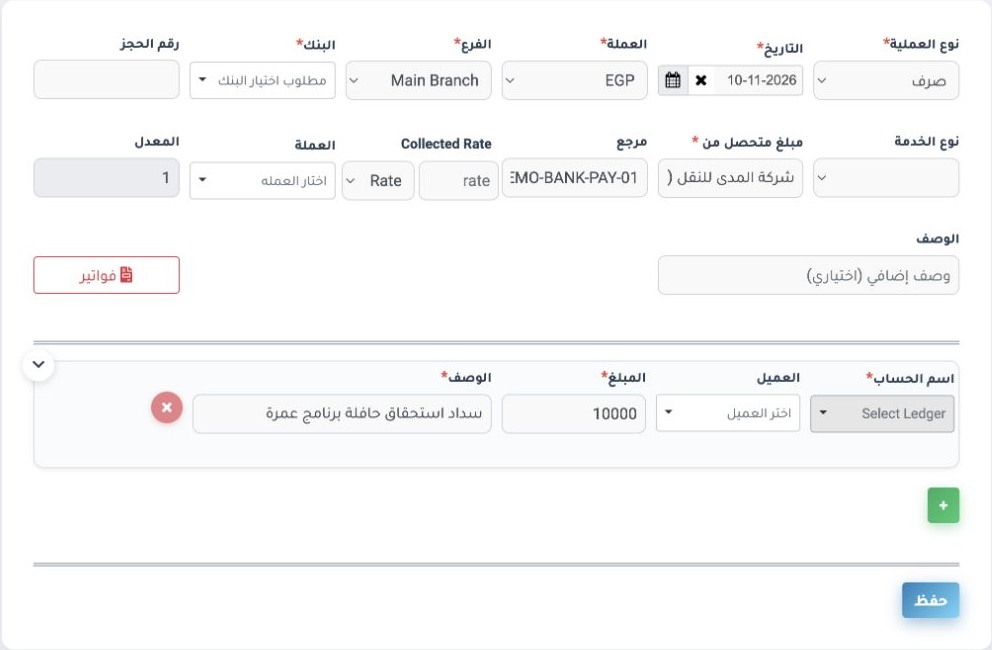
Set the date, currency, branch and bank. Enter the payee in the field currently labeled “Collected from” and add the payment reference. For each line, select the ledger and enter the amount and description. Use (+) to add a line, then review the details and select Save. The image shows an unsaved EGP 10,000 coach payment example.

Find a bank payment voucher

3 Open Banks → Bank Transactions → Search. Select the payment transaction type. Set Confirmation Status to Confirmed to find confirmed voucher...
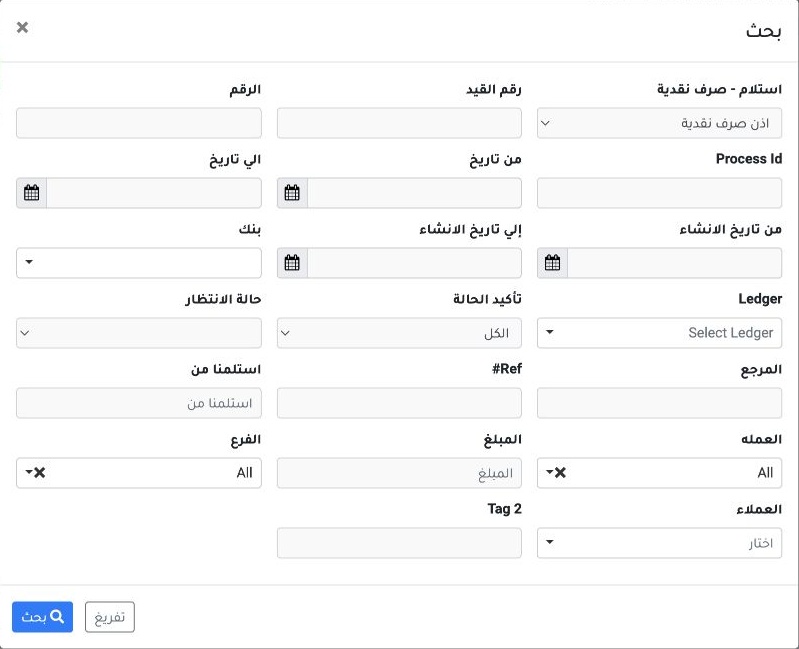
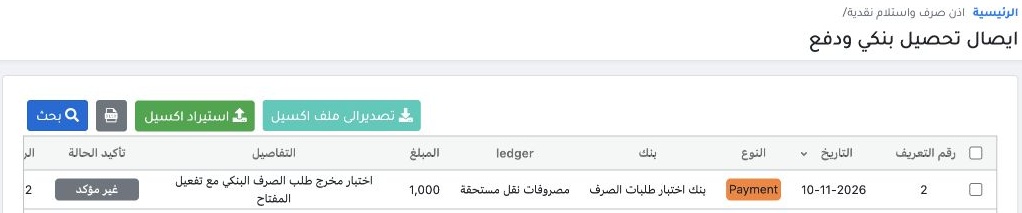
Open Banks → Bank Transactions → Search. Select the payment transaction type. Set Confirmation Status to Confirmed to find confirmed vouchers or All to include every status. Narrow the results by bank, date or reference. Use the register’s Excel export button to export the results.

Find the bank setting

4 In Portal, open Settings → Company Settings → Settings tab → Accounting and Finance. Find Hide banks from journal entries. The screenshot sh...
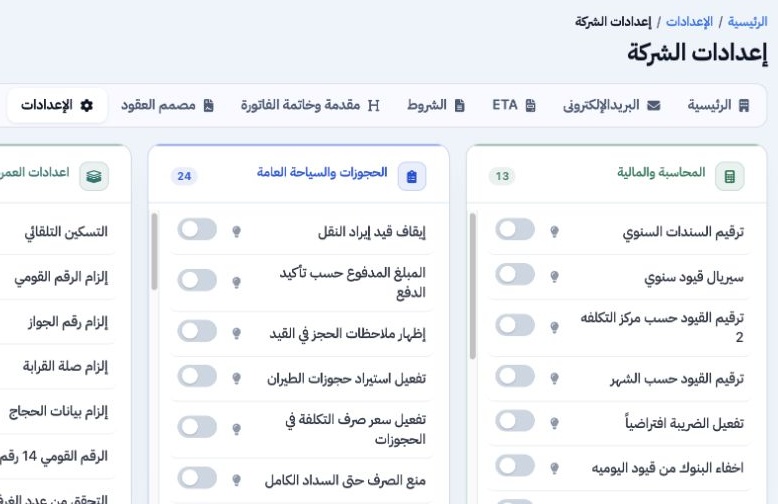
In Portal, open Settings → Company Settings → Settings tab → Accounting and Finance. Find Hide banks from journal entries. The screenshot shows the switch in the off position.

Confirm an approved bank payment request
5 In Payment Requests, create a request of type Bank, then select the bank and line ledger and enter the amount. After final approval, choose...
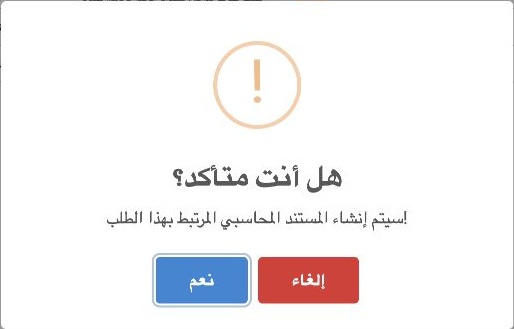
In Payment Requests, create a request of type Bank, then select the bank and line ledger and enter the amount. After final approval, choose Confirm from the request menu, then select Yes to create the linked document.

Review the linked voucher

6 Choose Open Document from the payment request register. If Bank Transactions opens without showing the voucher, open Search, keep the prefil...
Choose Open Document from the payment request register. If Bank Transactions opens without showing the voucher, open Search, keep the prefilled process ID and set Confirmation Status to All. With the switch off, the demo request produced unconfirmed bank payment voucher P-1 for EGP 1,000.

Enable the switch for the test

7 Enable the switch, save, and reload the page to verify its state. In the demo company, the change saved after the required company profile f...
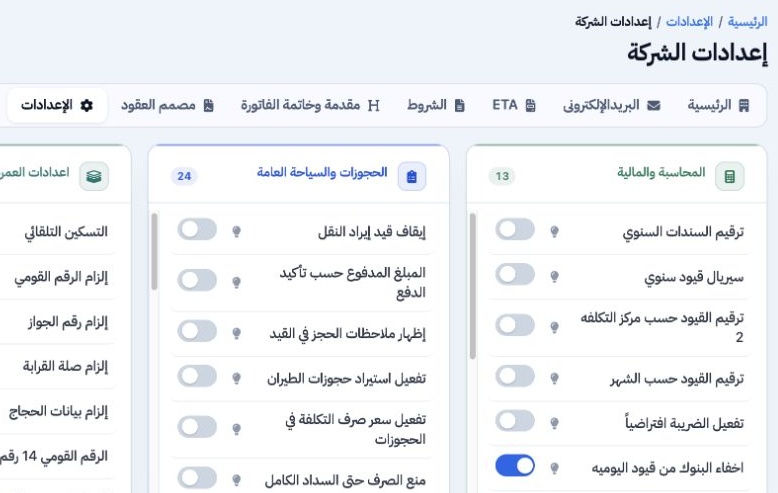
Enable the switch, save, and reload the page to verify its state. In the demo company, the change saved after the required company profile fields were completed.

Result with the switch on

8 After the second request was confirmed, bank payment voucher P-2 appeared for EGP 1,000 with status Unconfirmed. Confirming the payment requ...
After the second request was confirmed, bank payment voucher P-2 appeared for EGP 1,000 with status Unconfirmed. Confirming the payment request created a bank payment voucher in both switch states. The switch was turned off again after the test.

Post the bank payment voucher

9 In Bank Transactions, open the unconfirmed voucher’s menu and choose Post, then confirm. The message reports that the voucher was queued. Re...
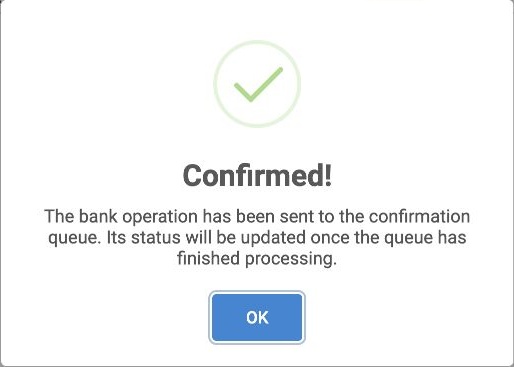
In Bank Transactions, open the unconfirmed voucher’s menu and choose Post, then confirm. The message reports that the voucher was queued. Refresh the search results until the status shows Posted and the entry number appears.

Journal entry with the switch off

10 Open the entry number from the voucher row, then choose View from the journal entry’s row menu. Posting P-1 created PB-1. The entry debited...
Open the entry number from the voucher row, then choose View from the journal entry’s row menu. Posting P-1 created PB-1. The entry debited Accrued Transport Expenses (2120017) and credited the Payment Requests Test Bank (12150000001) for EGP 1,000 each.

Journal entry with the switch on

11 Posting P-2 created PB-2 with the same debit and credit accounts and EGP 1,000 on each side. The switch was turned off again after posting c...
Posting P-2 created PB-2 with the same debit and credit accounts and EGP 1,000 on each side. The switch was turned off again after posting completed.

Find the bank in a manual journal entry
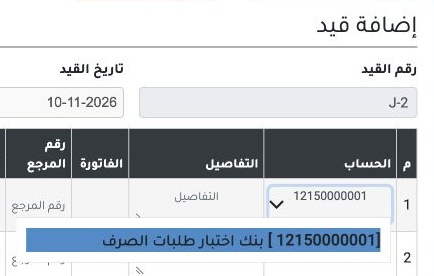
12 Open Journal Entries → Add Entry and search by code in the Account field. The Payment Requests Test Bank (12150000001) appeared with the swi...
Open Journal Entries → Add Entry and search by code in the Account field. The Payment Requests Test Bank (12150000001) appeared with the switch off.

Search for the bank with the switch on
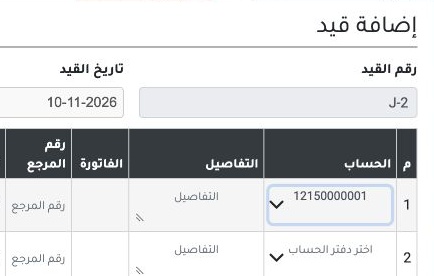
13 With the switch on and the form reopened, the same bank code returned no account suggestion. Use Bank Receipts and Payments to record the ba...
With the switch on and the form reopened, the same bank code returned no account suggestion. Use Bank Receipts and Payments to record the bank payment. The test form was closed without saving an entry.

Sign in to record the lessons you have read. Sign in