Skip to content
Trio Travel guide

Rotating Shifts

On this page
  1. 1 Schedule details
  2. 2 Working hours and days off
  3. 3 Review the list
  4. 4 Open search
  5. 5 Deletion confirmation
  6. 6 Prepare the employee
  7. 7 Assign and verify the employee

Create a dated schedule of working hours and days off.

1 Schedule details
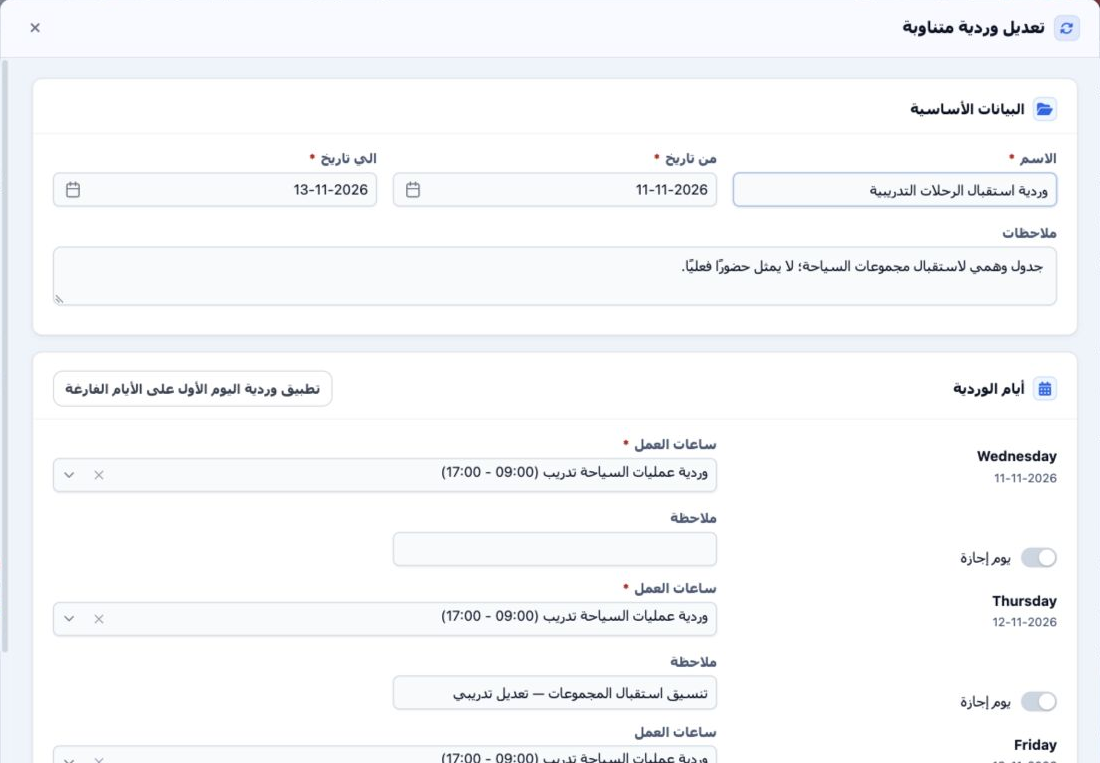
1 Open Human Resources → Operations → Rotating Shifts, then Add. Enter a name, select the start and end dates using the calendar, and add note...
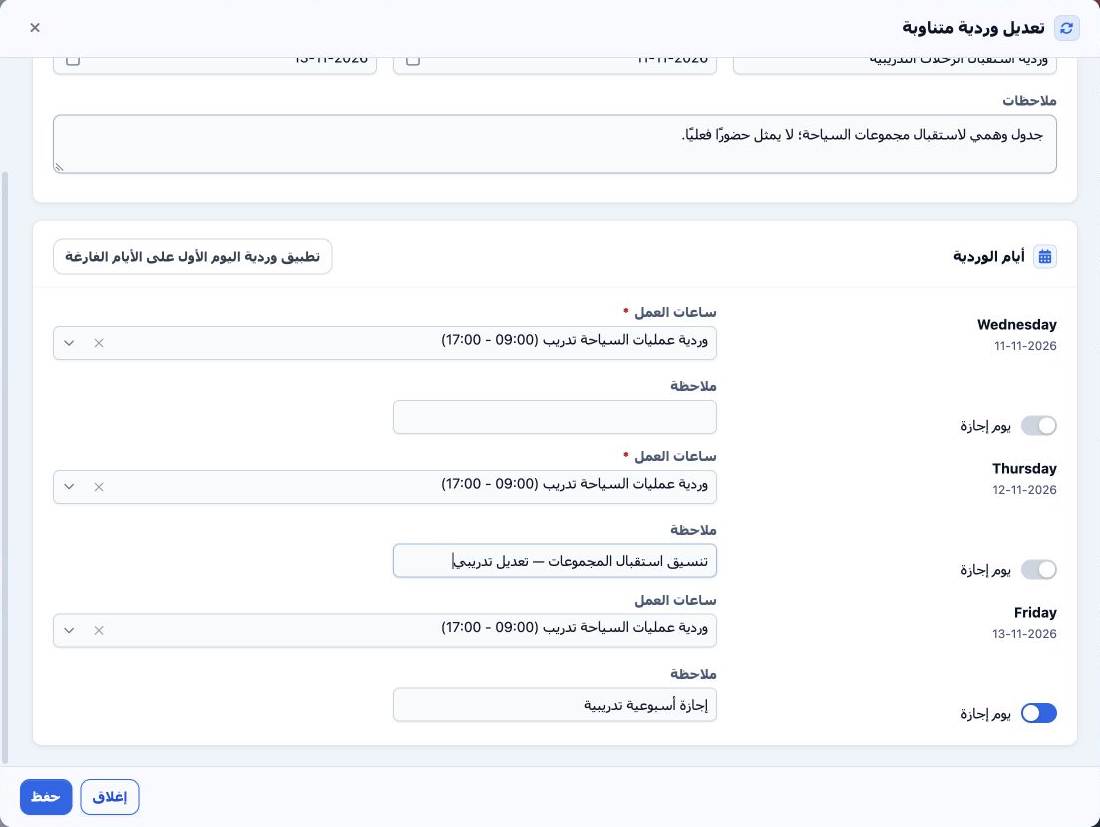
Open Human Resources → Operations → Rotating Shifts, then Add. Enter a name, select the start and end dates using the calendar, and add notes. The dates generate the daily schedule. The example covers 11–13 November 2026; the screenshot shows the saved record reopened.

2 Working hours and days off

2 Select working hours for the first day. Apply first day shift to empty days copies the selection. Turn on Day Off for the relevant day, ente...
Select working hours for the first day. Apply first day shift to empty days copies the selection. Turn on Day Off for the relevant day, enter daily notes as needed and save. The example uses 09:00–17:00 and marks Friday off. To change a schedule, choose Edit from its row menu. The Thursday note was edited and persisted on reopening.

3 Review the list

3 The list shows the schedule number, name, start date, end date and notes. The training schedule appears as number 1. Its row menu includes E...
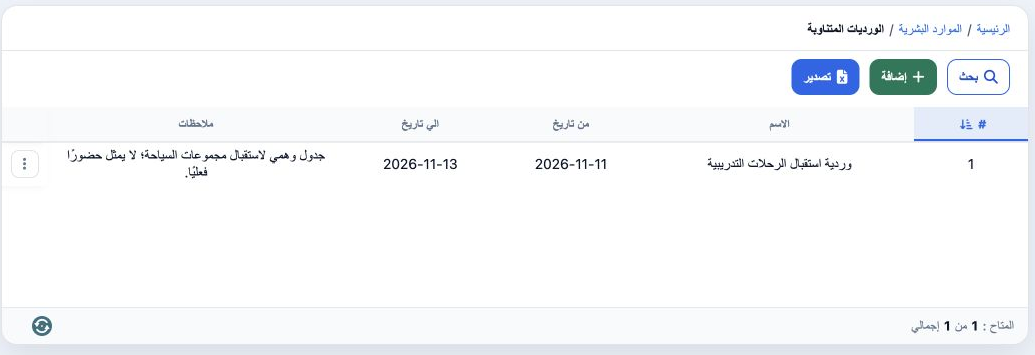
The list shows the schedule number, name, start date, end date and notes. The training schedule appears as number 1. Its row menu includes Edit, Assign Employees and Delete.

4 Open search

4 Select Search to open the employee filter. Clear removes the filter; Close returns to the list.
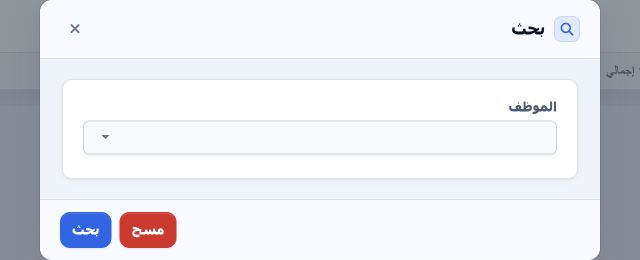
Select Search to open the employee filter. Clear removes the filter; Close returns to the list.

5 Deletion confirmation

5 Choose Delete from the row menu. The dialog warns that deletion cannot be undone. Select No to keep the schedule or Yes to confirm deletion....
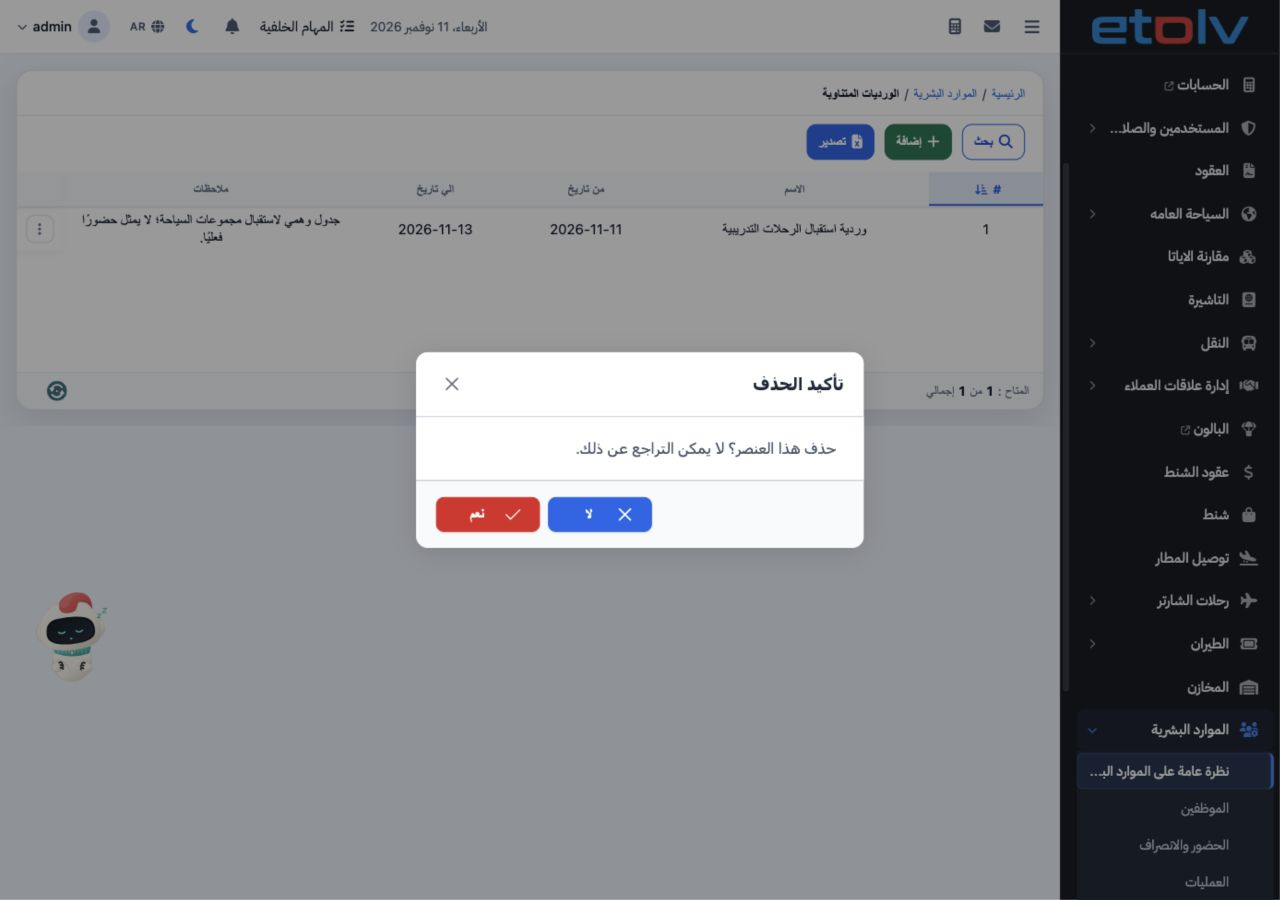
Choose Delete from the row menu. The dialog warns that deletion cannot be undone. Select No to keep the schedule or Yes to confirm deletion. No was selected in the example.

6 Prepare the employee

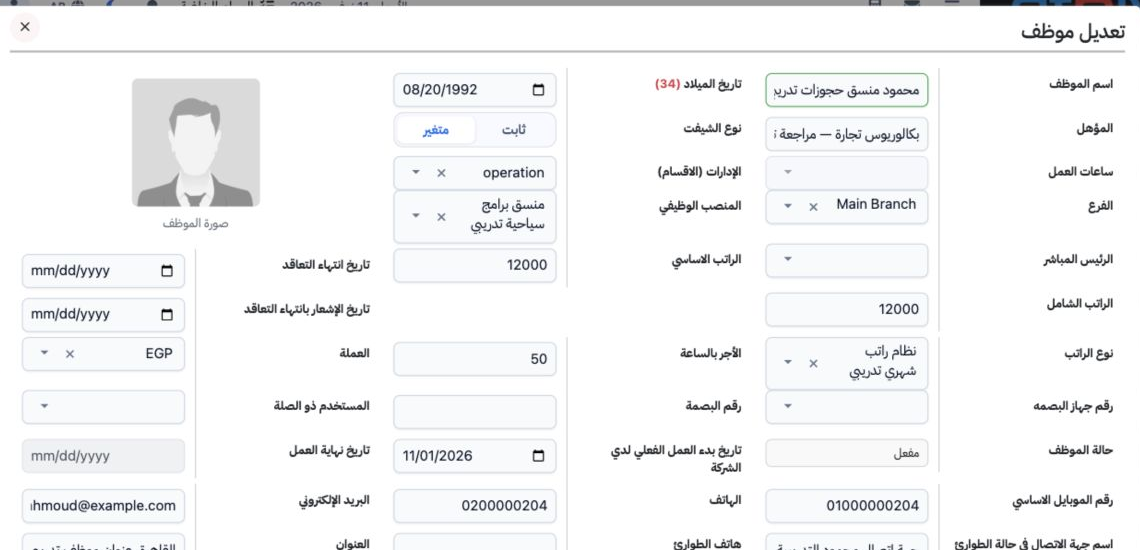
6 Edit the employee, select Variable as the shift type and save. The fixed Working Hours field becomes disabled. The example uses Mahmoud.
Edit the employee, select Variable as the shift type and save. The fixed Working Hours field becomes disabled. The example uses Mahmoud.

7 Assign and verify the employee

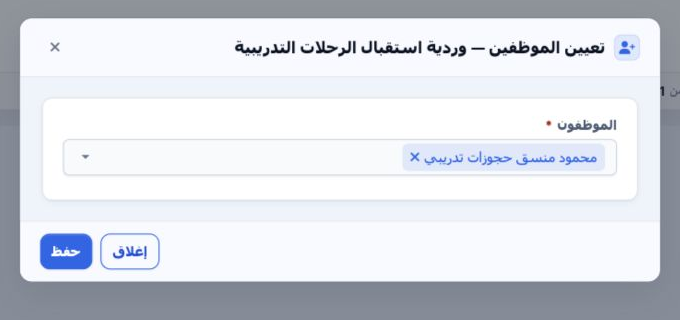
7 From the schedule menu, choose Assign Employees. Search for the employee, use Search inside the picker if needed, select the name and save....
From the schedule menu, choose Assign Employees. Search for the employee, use Search inside the picker if needed, select the name and save. Reopen the assignment to verify it; Mahmoud remained selected in schedule 1.

Sign in to record the lessons you have read. Sign in