Importing hotels from Excel
On this page
Downloading the hotel template
This guide explains how to download and prepare the hotel template, upload it, review the results and correct rejected rows. Open Settings, then Hotels.
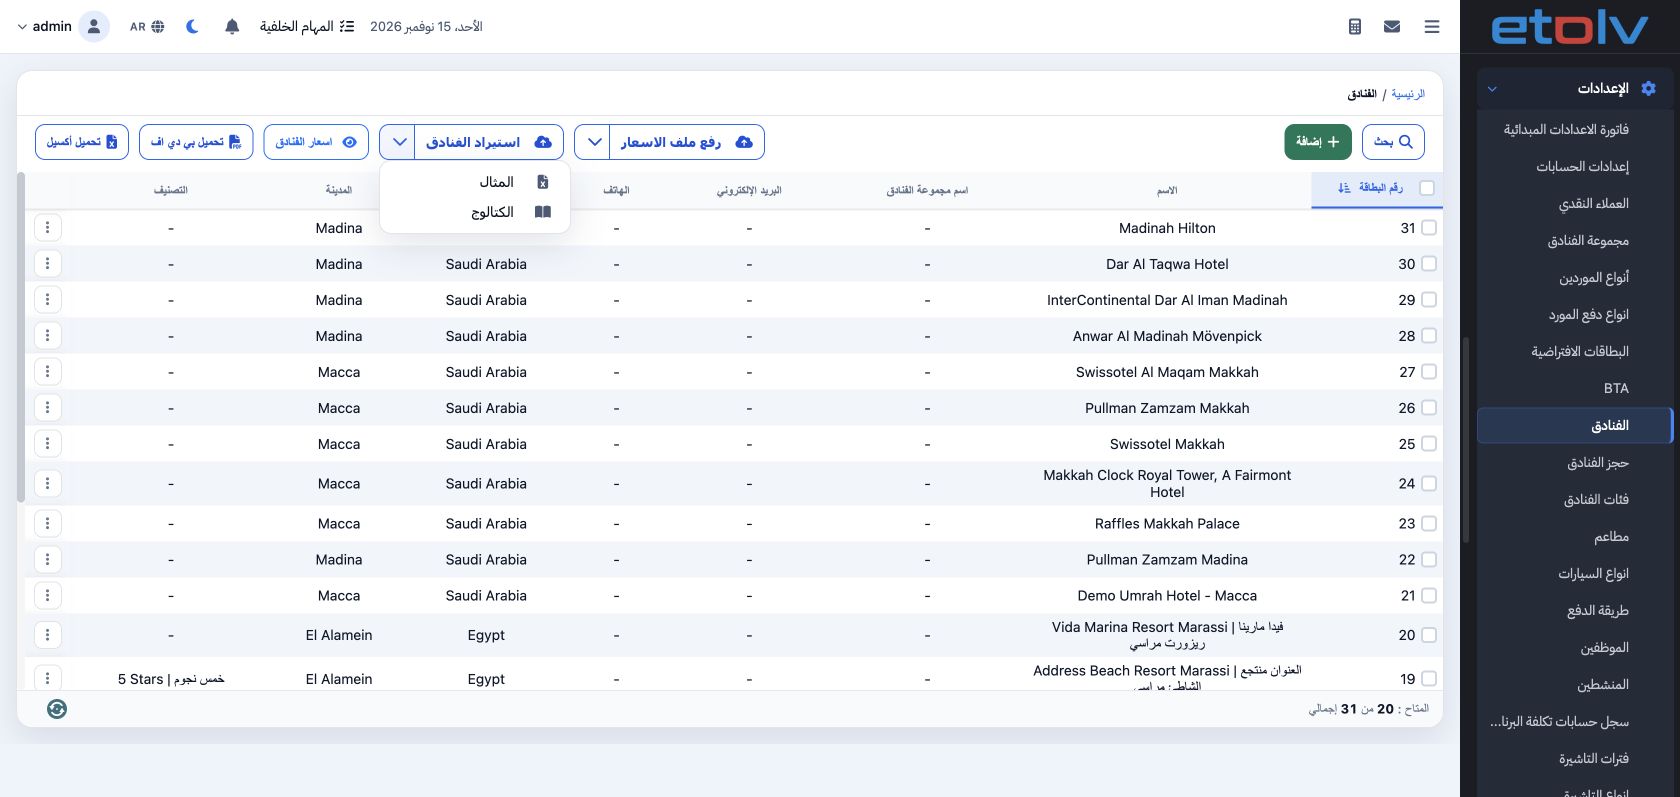
Example downloads a blank template with column headings. Keep the original and prepare your data in a separate copy.
Use Import Hotels when preparing hotel definitions. Upload Price File is a separate action on the same screen.
The template and contact details

name is the required hotel name. Enter a clear name and review the existing list to avoid duplicating a hotel.
address1 is the hotel address, site_url its website and email its email address. These fields are optional; enter valid contact details when available.
The column headings contain notes describing their fields and rules. The name heading is red to identify it as required.
Country city and supplier creation
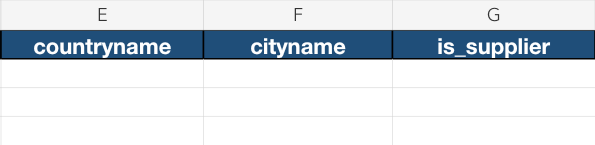
countryname is the country name and cityname the city name. Copy each name as it appears in the reference list; these columns use names, so do not enter an identifier number.
is_supplier: enter 1 to create a supplier with the same name as the hotel. Enter 0, or leave it blank, to define only the hotel.
Before using 1, ensure the Suppliers group account is configured in Accounting Settings. Supplier creation needs this setting. The training example uses 0.
The catalogue contains Catalog, Countries and Cities sheets. Use it to read field descriptions and check reference names; do not upload it instead of the data template.
Names in explanatory examples are illustrative. Check that they exist in your company lists before using them.
Preparing and reviewing an example
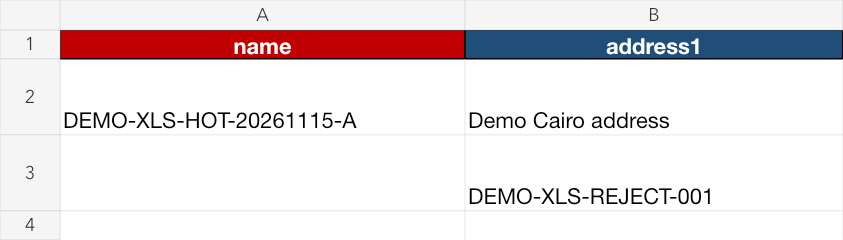

Row 2 uses the hotel name DEMO-XLS-HOT-20261115-A, Egypt, Cairo and is_supplier 0. The address, website and email are training data.
Before upload, complete the missing name or remove the unwanted row, and check the country, city and is_supplier values.
Save the prepared copy as xlsx, keeping the seven columns and their headings.
Uploading and confirming the import
After reviewing the file, click Import Hotels and select the prepared xlsx file. Check its filename in the confirmation window.
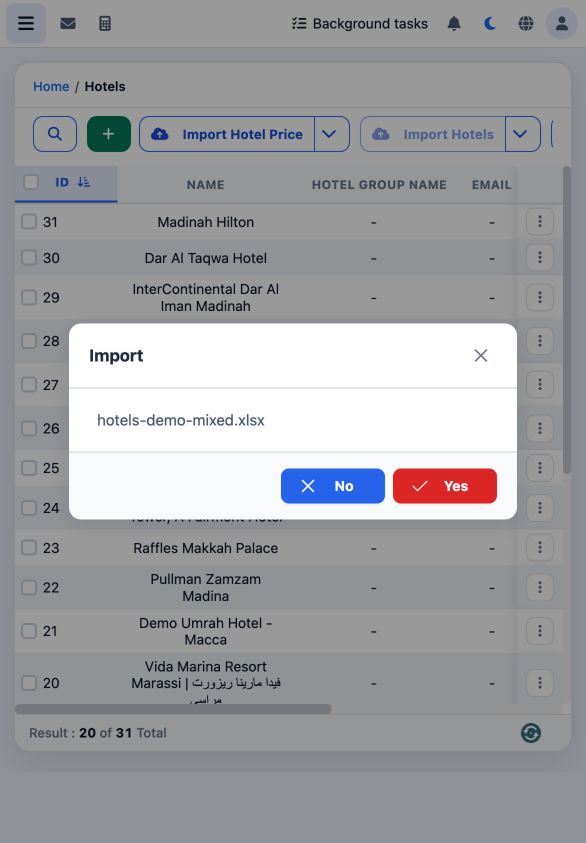
Confirm the file once, then follow its result in Background tasks. The operation runs in the background; check its result before uploading again.
Reading the result and error report
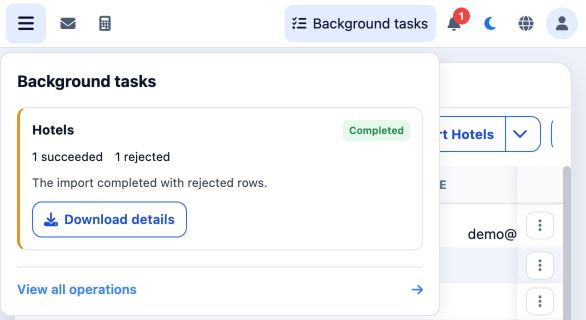
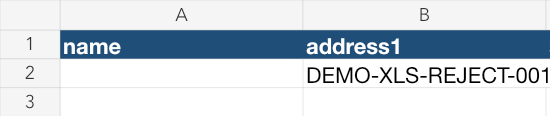

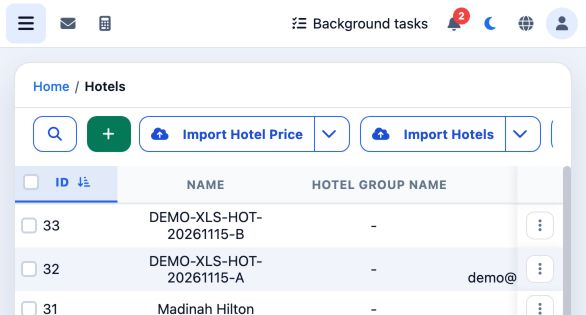
Hotel A was added as number 32, bringing the count from 31 to 32. Correct only the rejected row; exclude the successful row from the next upload.
Correcting the rejected row
Copy the rejected row into a copy of the original seven-column template. Complete the hotel name and check the remaining values.


The corrected file contains only this row. Save it under a new name with the original seven headings, excluding the previously successful A row.
Retrying and checking the hotel list
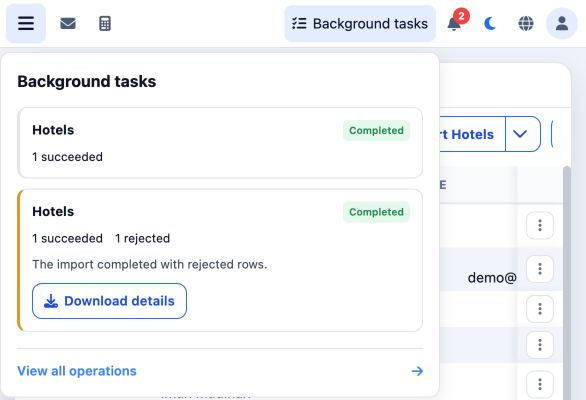
Upload the corrected file through Import Hotels, check its name and select Yes. Open Background tasks to review the new operation.
Sign in to record the lessons you have read. Sign in