Skip to content
Trio Travel guide

Trio Travel Room Views Guide

On this page
  1. View the room view list
  2. Search for a room view
  3. Review or clear search results
  4. Add a room view
  5. Open a room view’s actions
  6. Rename a room view

View the room view list

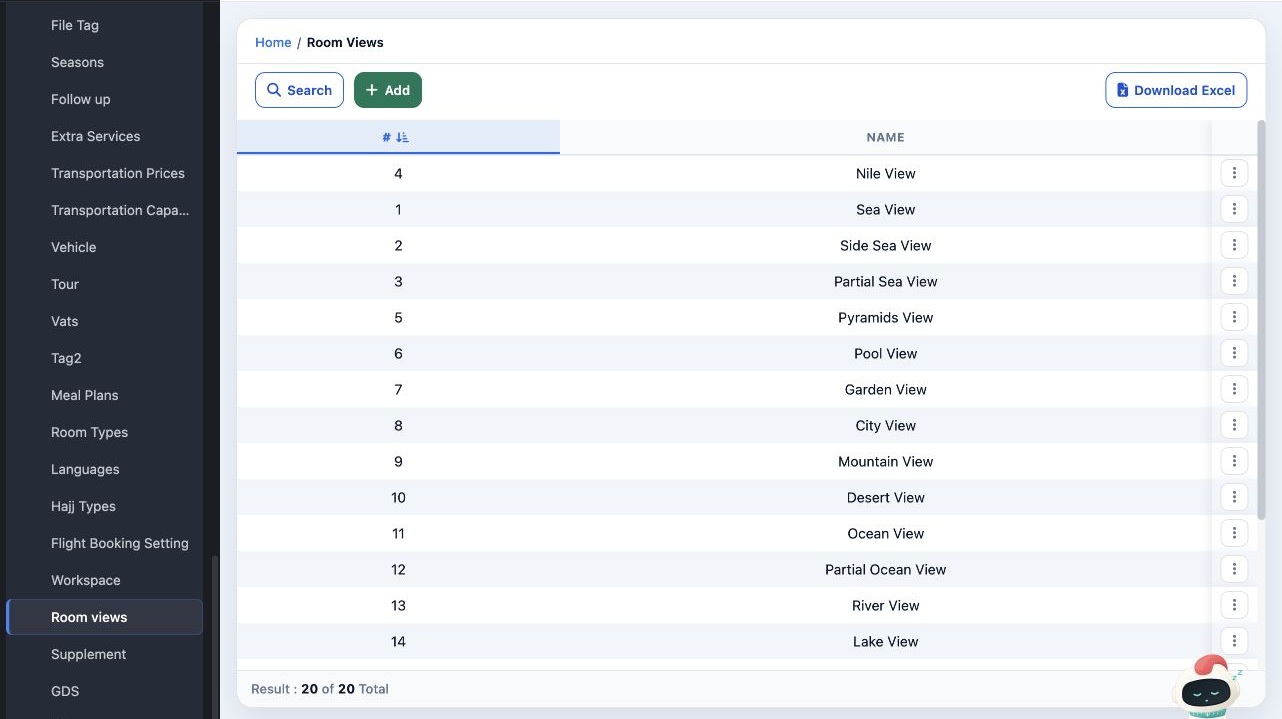
1 In Settings, open Room Views. The table lists views such as sea and pool views. Scroll inside the table to see more entries, or select Downl...
In Settings, open Room Views. The table lists views such as sea and pool views. Scroll inside the table to see more entries, or select Download Excel to download the table.

Search for a room view

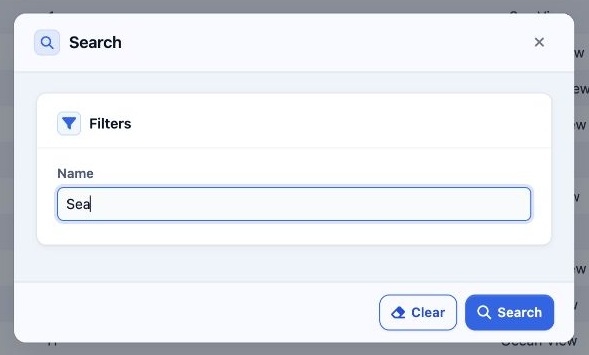
2 Select Search. In Name, enter the name as it appears in the table or part of it, such as Sea. Then select Search in the dialog.
Select Search. In Name, enter the name as it appears in the table or part of it, such as Sea. Then select Search in the dialog.

Review or clear search results

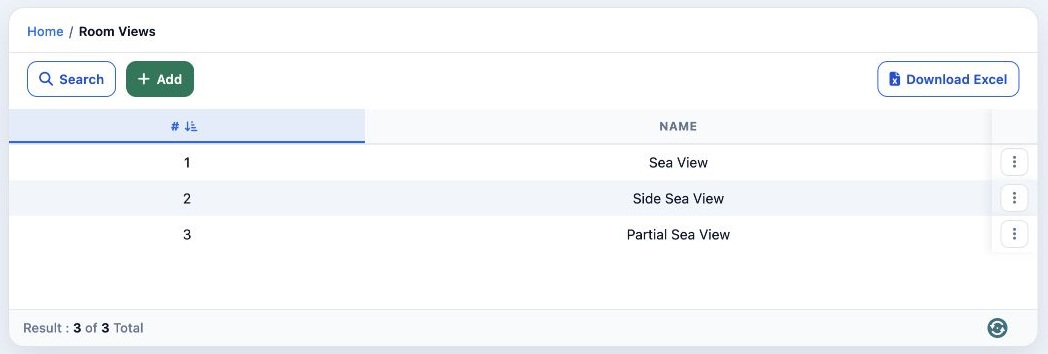
3 The table shows matching room views. To return to the full list, reopen Search, select Clear, then close the dialog.
The table shows matching room views. To return to the full list, reopen Search, select Clear, then close the dialog.

Add a room view

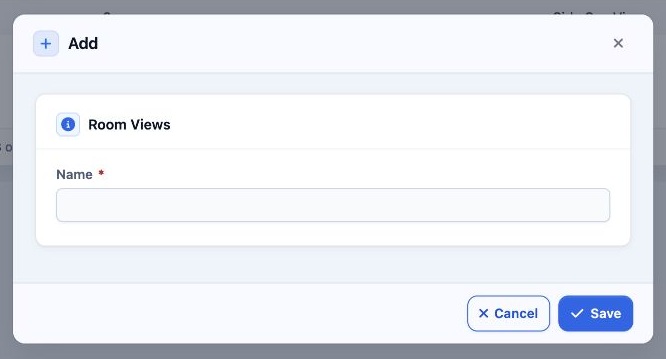
4 Select Add. Enter the view’s name in Name, then select Save.
Select Add. Enter the view’s name in Name, then select Save.

Open a room view’s actions

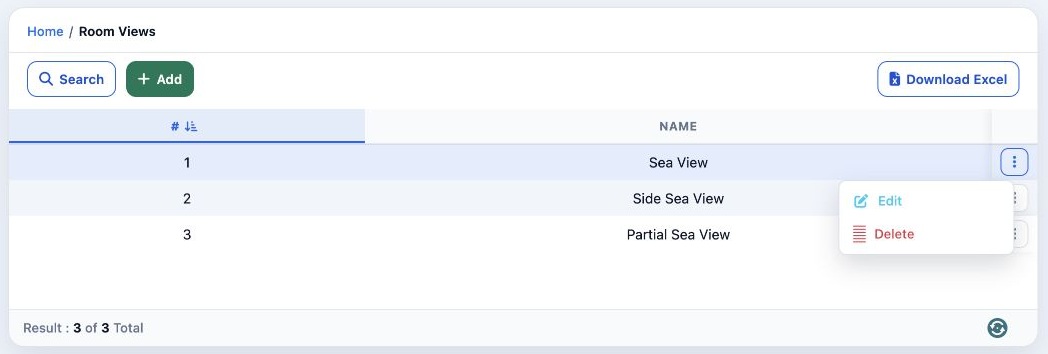
5 Open the three-dot menu in the view’s row. It contains Edit and Delete. To rename the room view, select Edit.
Open the three-dot menu in the view’s row. It contains Edit and Delete. To rename the room view, select Edit.

Rename a room view

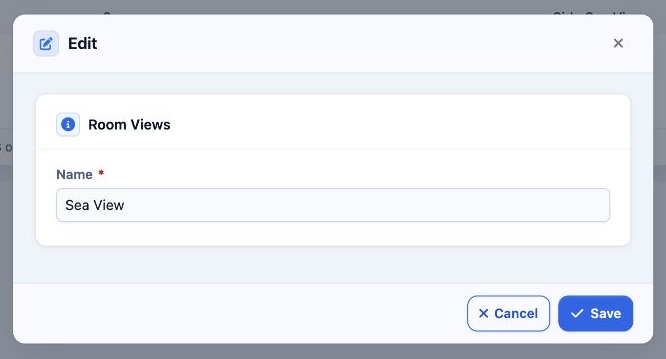
6 Change the value in Name, then select Save.
Change the value in Name, then select Save.

Sign in to record the lessons you have read. Sign in