Company general settings guide
On this page
From Portal, open the user menu, select Settings, then General. This page holds company details, formats and branding.
Company identity
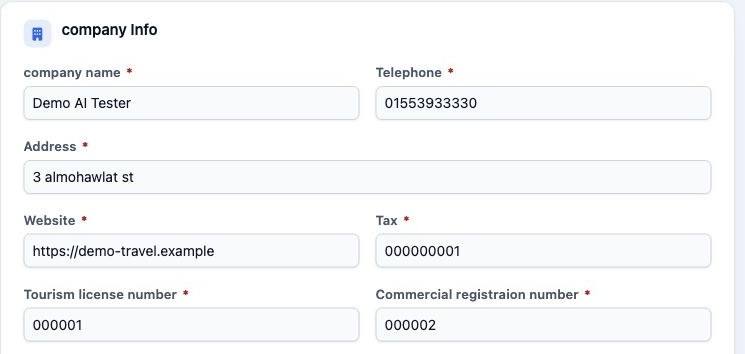
company name
Enter the organization name. The example uses Demo AI Tester.
Telephone
Enter the company phone number using the appropriate country prefix.
Address
Enter the company office address clearly.
Website
Enter the company website URL.
Tax
Enter the organization tax registration number.
Tourism license number
Enter the tourism licence number.
Commercial registration number
Enter the commercial registration number.
Contact and management details
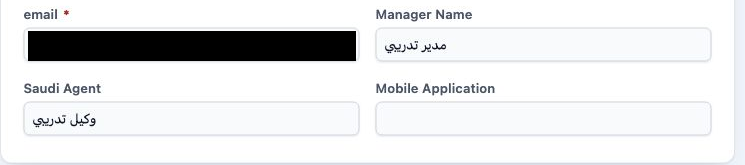
Enter the company email address. Outgoing mail server configuration is on the separate E-mail tab.
Manager Name
Enter the manager name in its dedicated field.
Saudi Agent
Enter the company Saudi agent details.
Mobile Application
Complete this field with the system administrator when configuring the organization mobile application.
File numbering and display formats
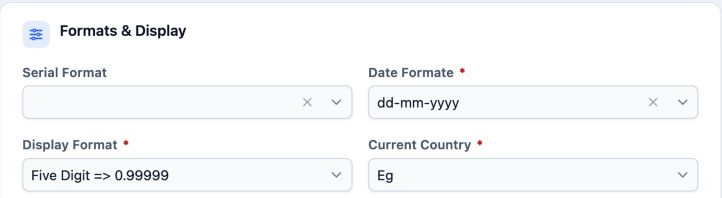
Serial Format
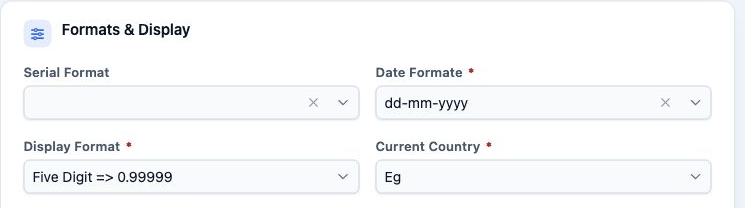
Choose a file numbering pattern. YYYY represents the year and MM the month. Available patterns are listed below exactly as shown in the interface.
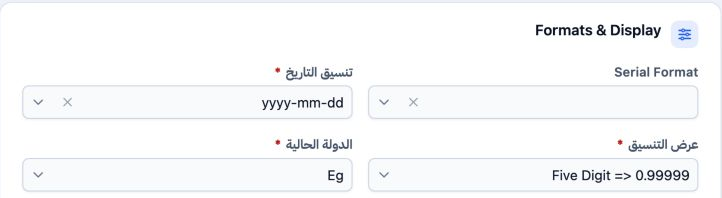
Date Formate
Choose the order of day, month and year and the separator. For example, dd-mm-yyyy displays 13 November as 13-11-2026.
Display Format
Choose from one to five decimal places. The example shows Five Digit.
Current Country
Options are Eg, Ksa, KW and AE. Country controls local integration settings and some local fields. Egypt uses the Egyptian e-invoice settings; Saudi Arabia uses ZATCA settings. Identity-field wording may also vary in Hajj and Umrah.
default (YYYYMM0001) | format (YYYYMM/1) | format (1/MMYYYY) | format (NA/YYYYMM/1) | format (SE/YYYYMM/1) | format (TYPE/YYYYMM00001) | format (CN/YYYYMM/SN) | TYYMM0001 | format (NA/SN)
dd mmm yyyy | dd-mm-yyyy | yyyy-mm-dd | dd.mm.yyyy | dd/mm/yyyy | mm/dd/yyyy
One Digit => 0.9 | Two Digit => 0.99 | Three Digit => 0.999 | Four Digit => 0.9999 | Five Digit => 0.99999
Invoice numbering and document options
Invoice Serial Format
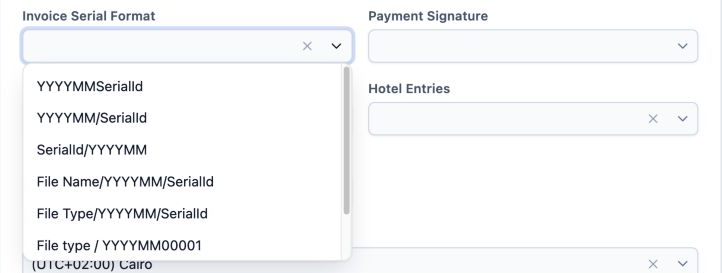
Choose the invoice numbering structure. Patterns combine the year, month and serial, and can include the file name, file type or invoice type.
Payment Signature
The available choices are Format 1 and Format 2. Select the format approved for the organization documents.
Iata Entries
The available choices are Supplier and IATA. The accounting administrator selects the appropriate choice for the company flight workflow.
YYYYMMSerialId | YYYYMM/SerialId | SerialId/YYYYMM | File Name/YYYYMM/SerialId | File Type/YYYYMM/SerialId | File type / YYYYMM00001 | Invoice Type-serialId
Entry dates and time zone
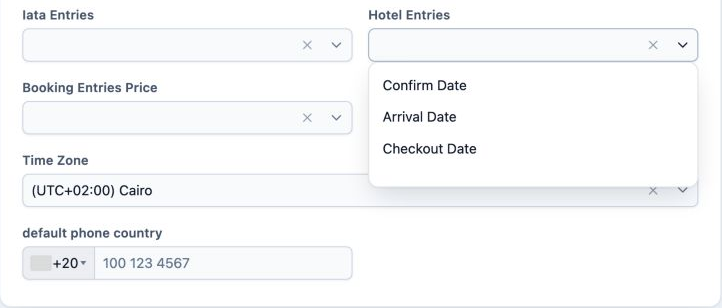
Hotel Entries
Choose the date reference for hotel entries: Confirm Date, Arrival Date or Checkout Date.
Booking Entries Price
Choose Departure Date or Arrival Date according to the organization policy for sales booking entries.
Time Zone
Choose the appropriate city or time zone. The example uses Cairo.
default phone country
Choose the default phone country and prefix. The example uses Egypt with +20.
Logo stamp and saving
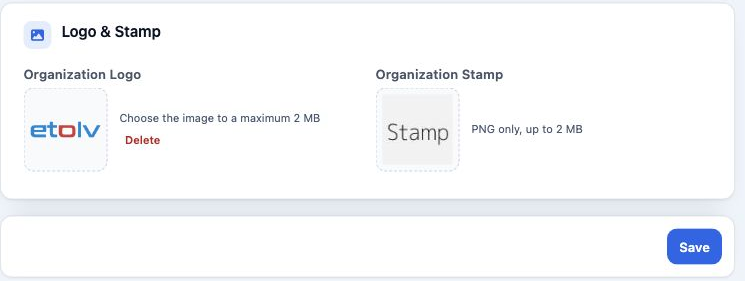
Organization Logo
Select the image area to choose the organization logo, up to 2 MB. Delete is shown next to an existing logo.
Organization Stamp
Choose a PNG stamp image up to 2 MB.
Save
Complete required fields marked with an asterisk, then select Save. Reopen the tab to review the saved values.
Worked example changing the date format
Sign in to record the lessons you have read. Sign in